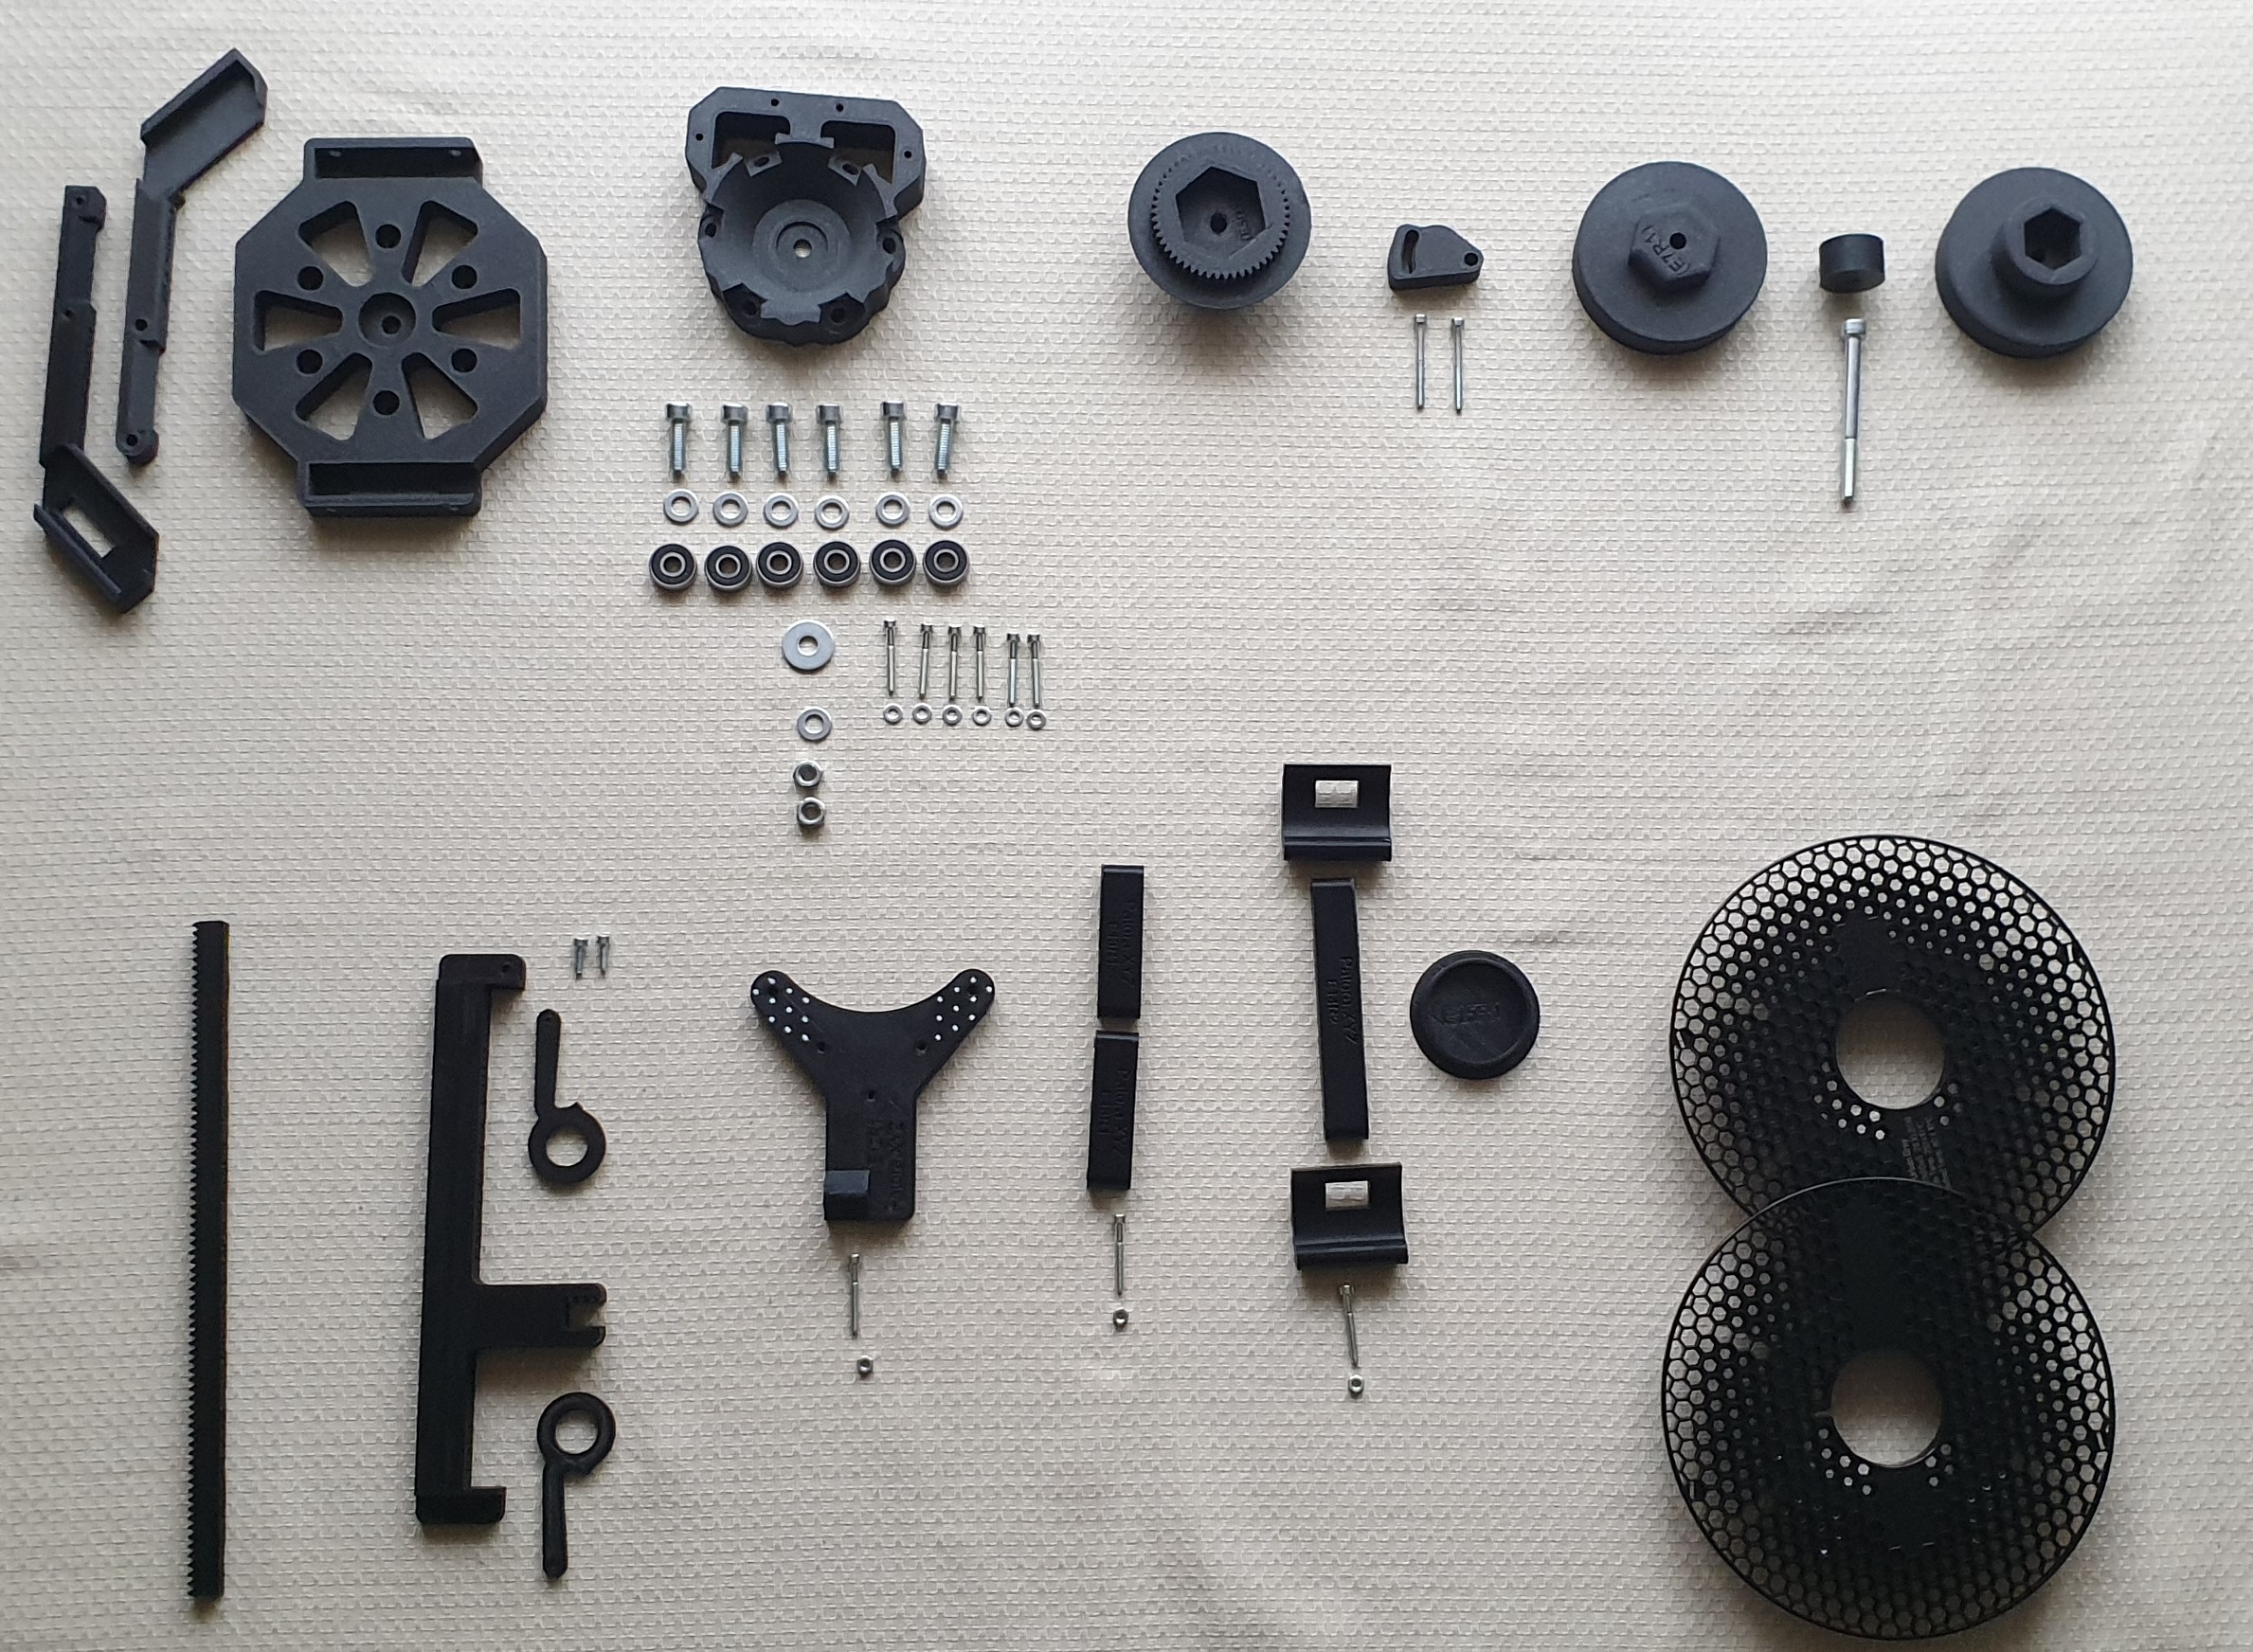
Print all parts (download from www.prusaprinters.org) using PLA or PETG (suggest Prusament filament).
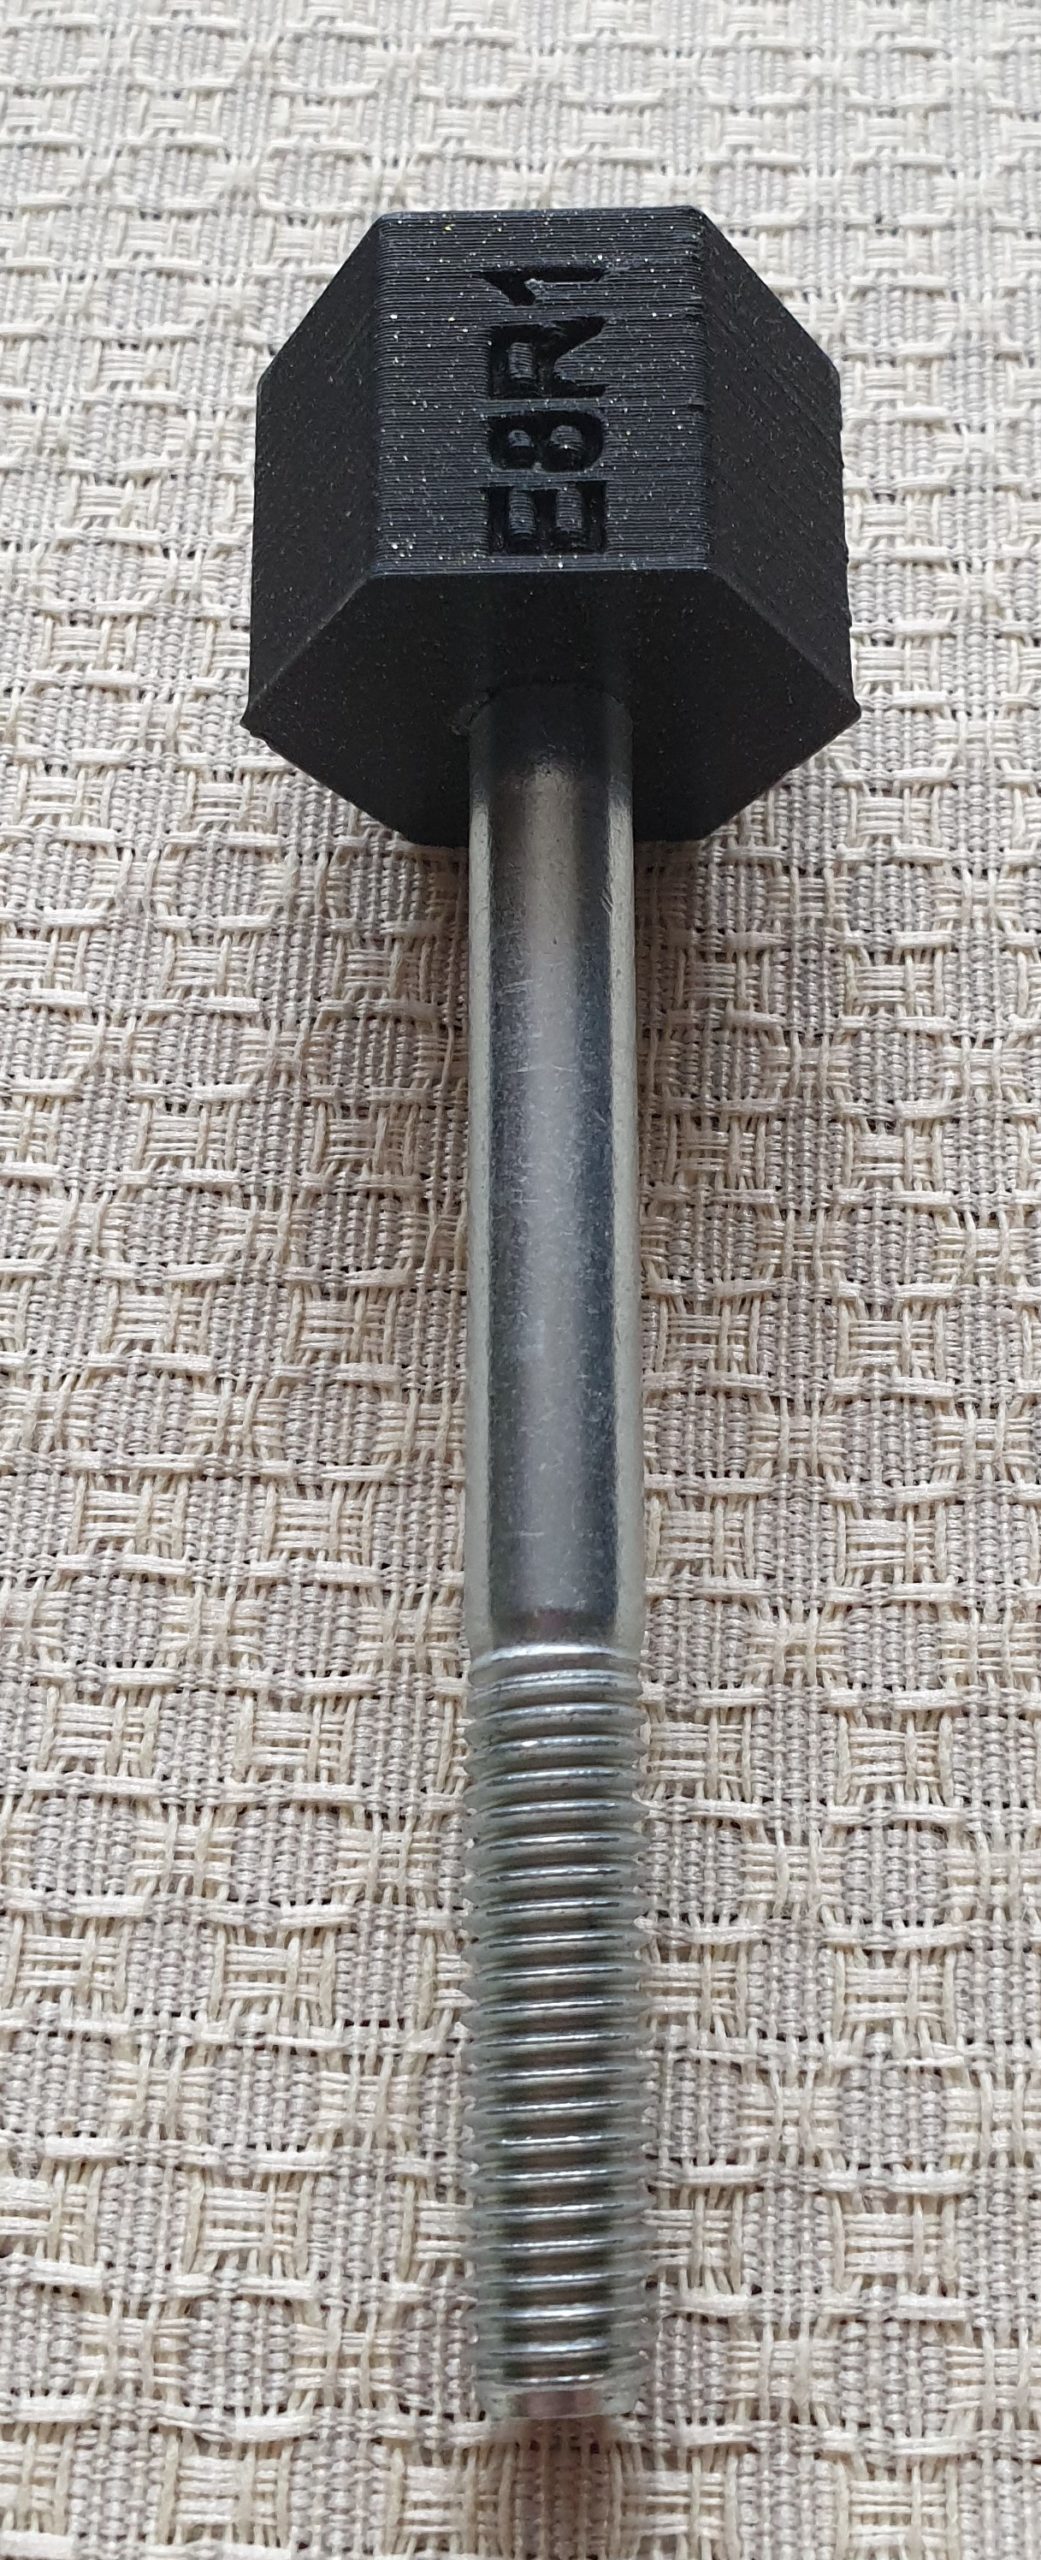
Step 1 – Insert M8x80 into the E8R1 element. The elements are tightly fitted and their assembly requires strength.

Step 2 – Prepare element E5R1, E7R1 and E8R1, use washer for M8 screw.

Step 3 – Join E5R1 and E7R1
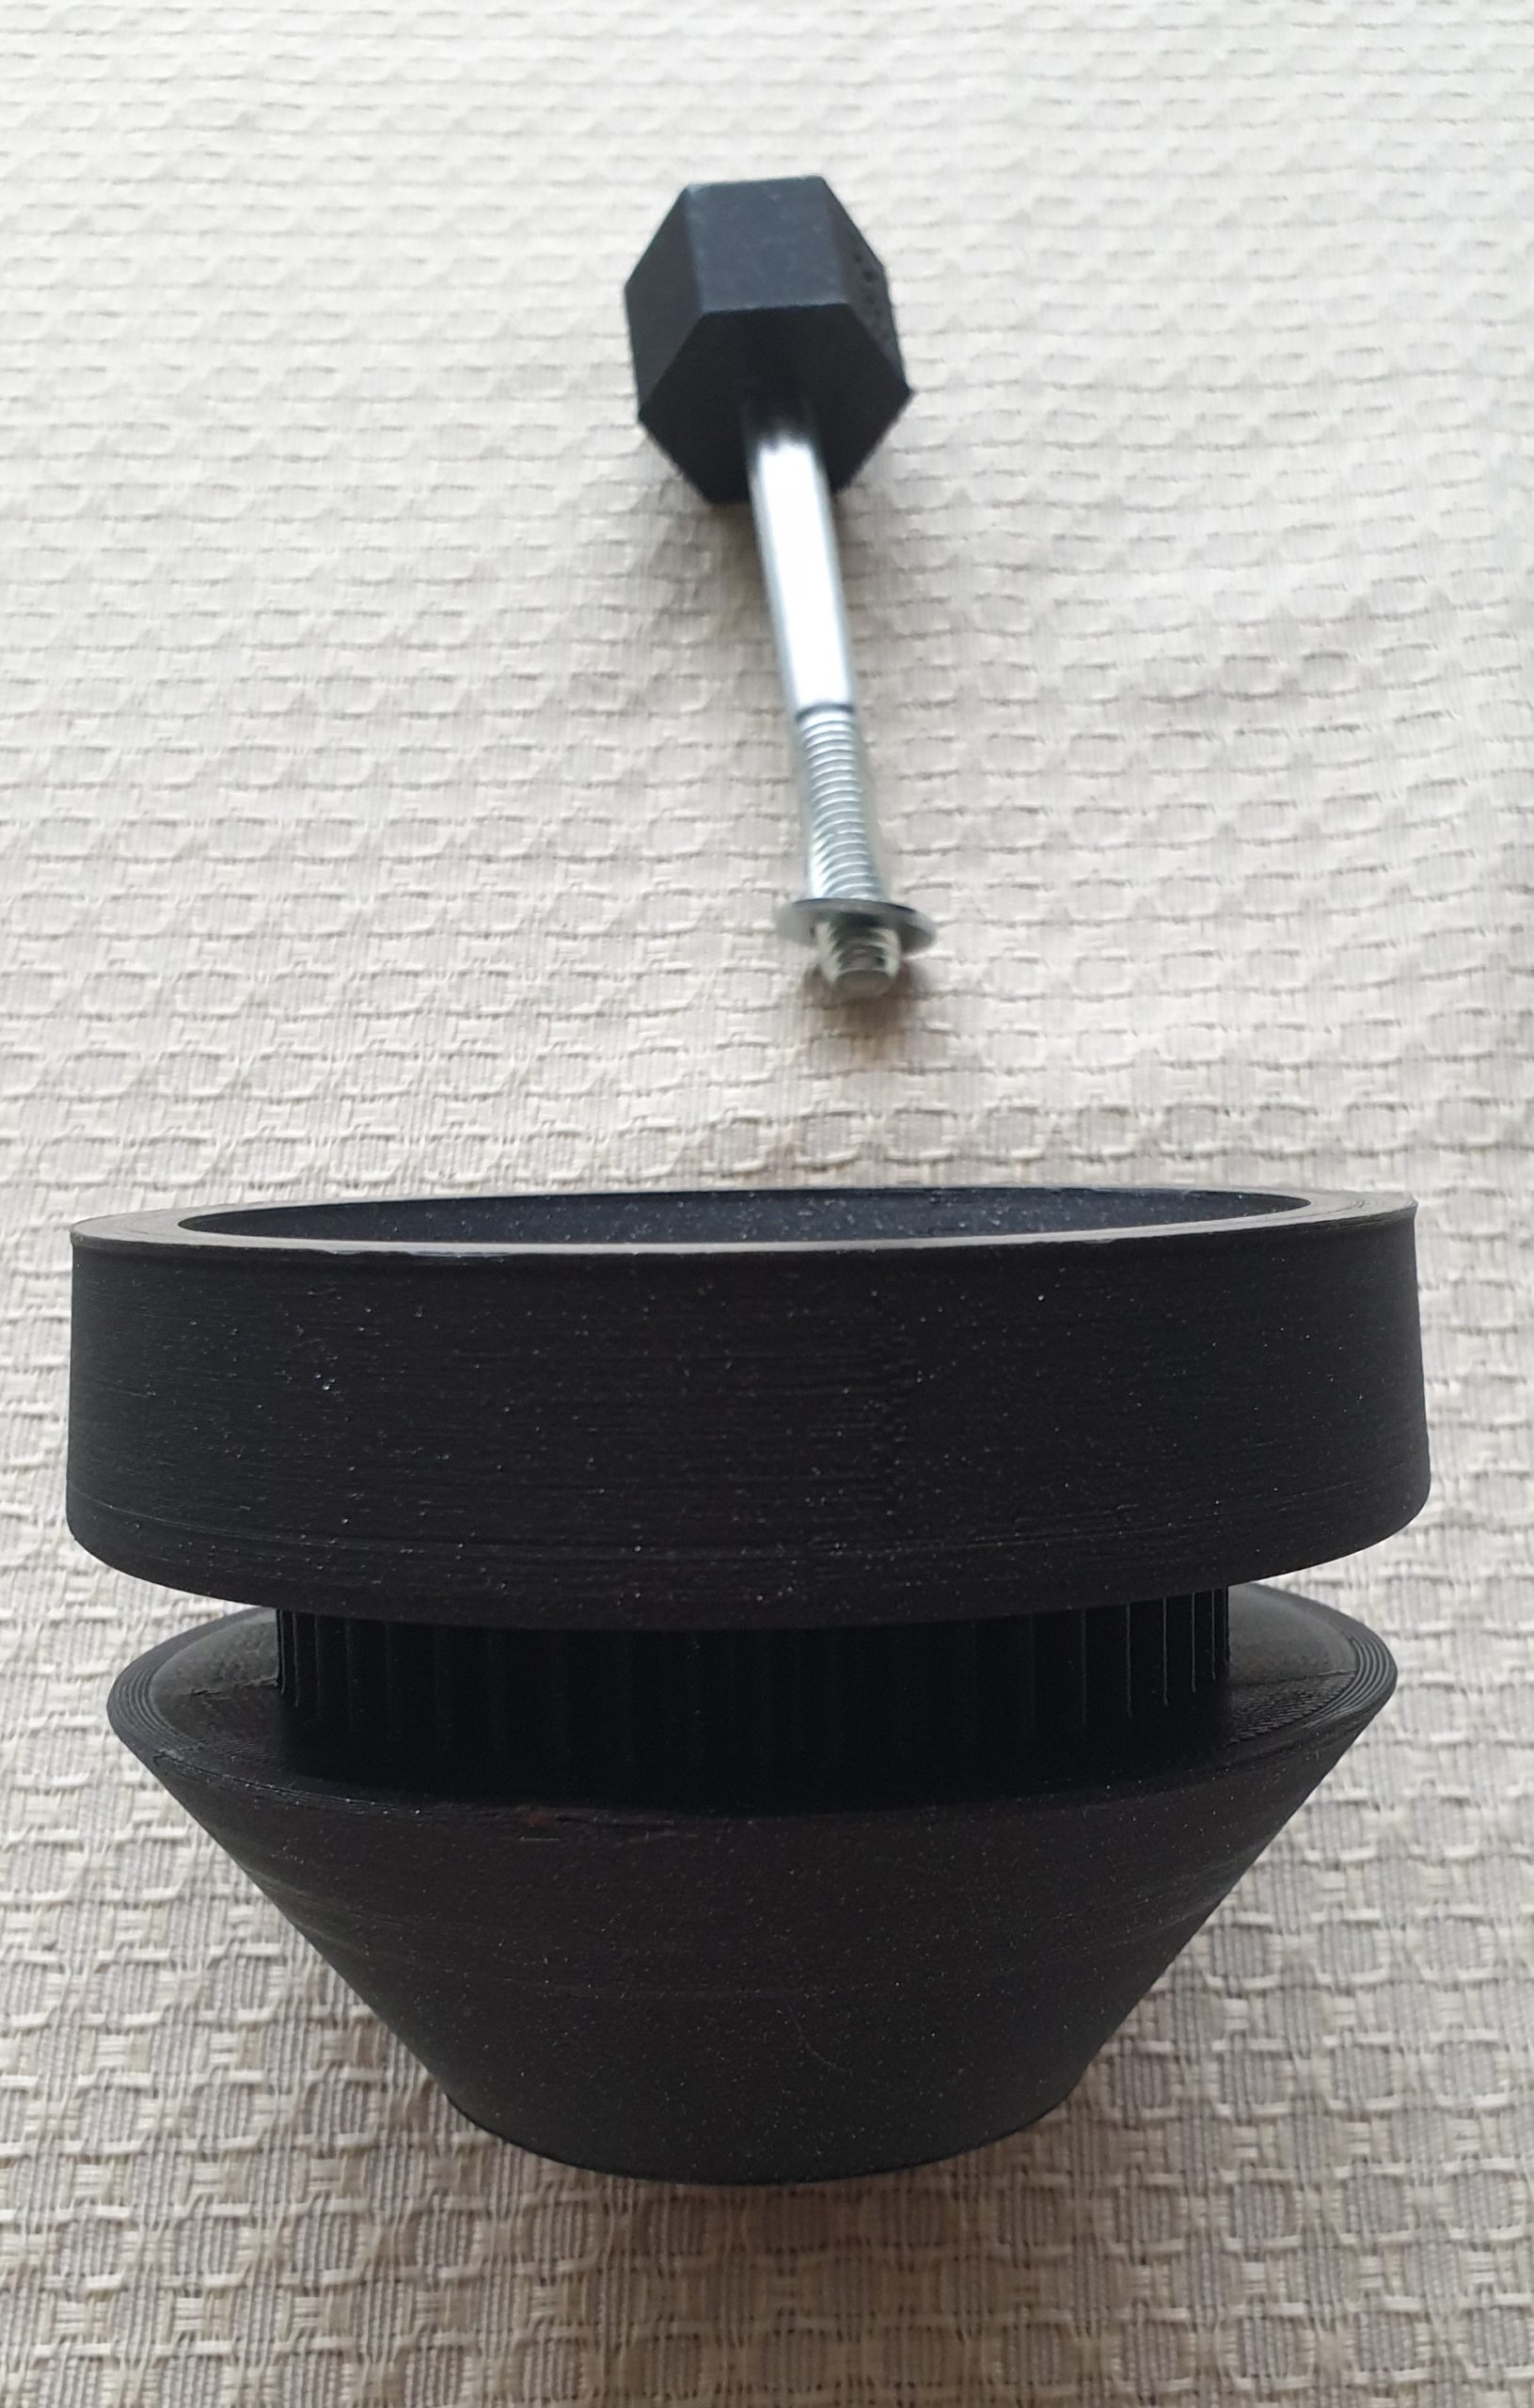
Step 4 – Insert E8R1 as picture below. Remember use a nut between E8R1 and E7R1.
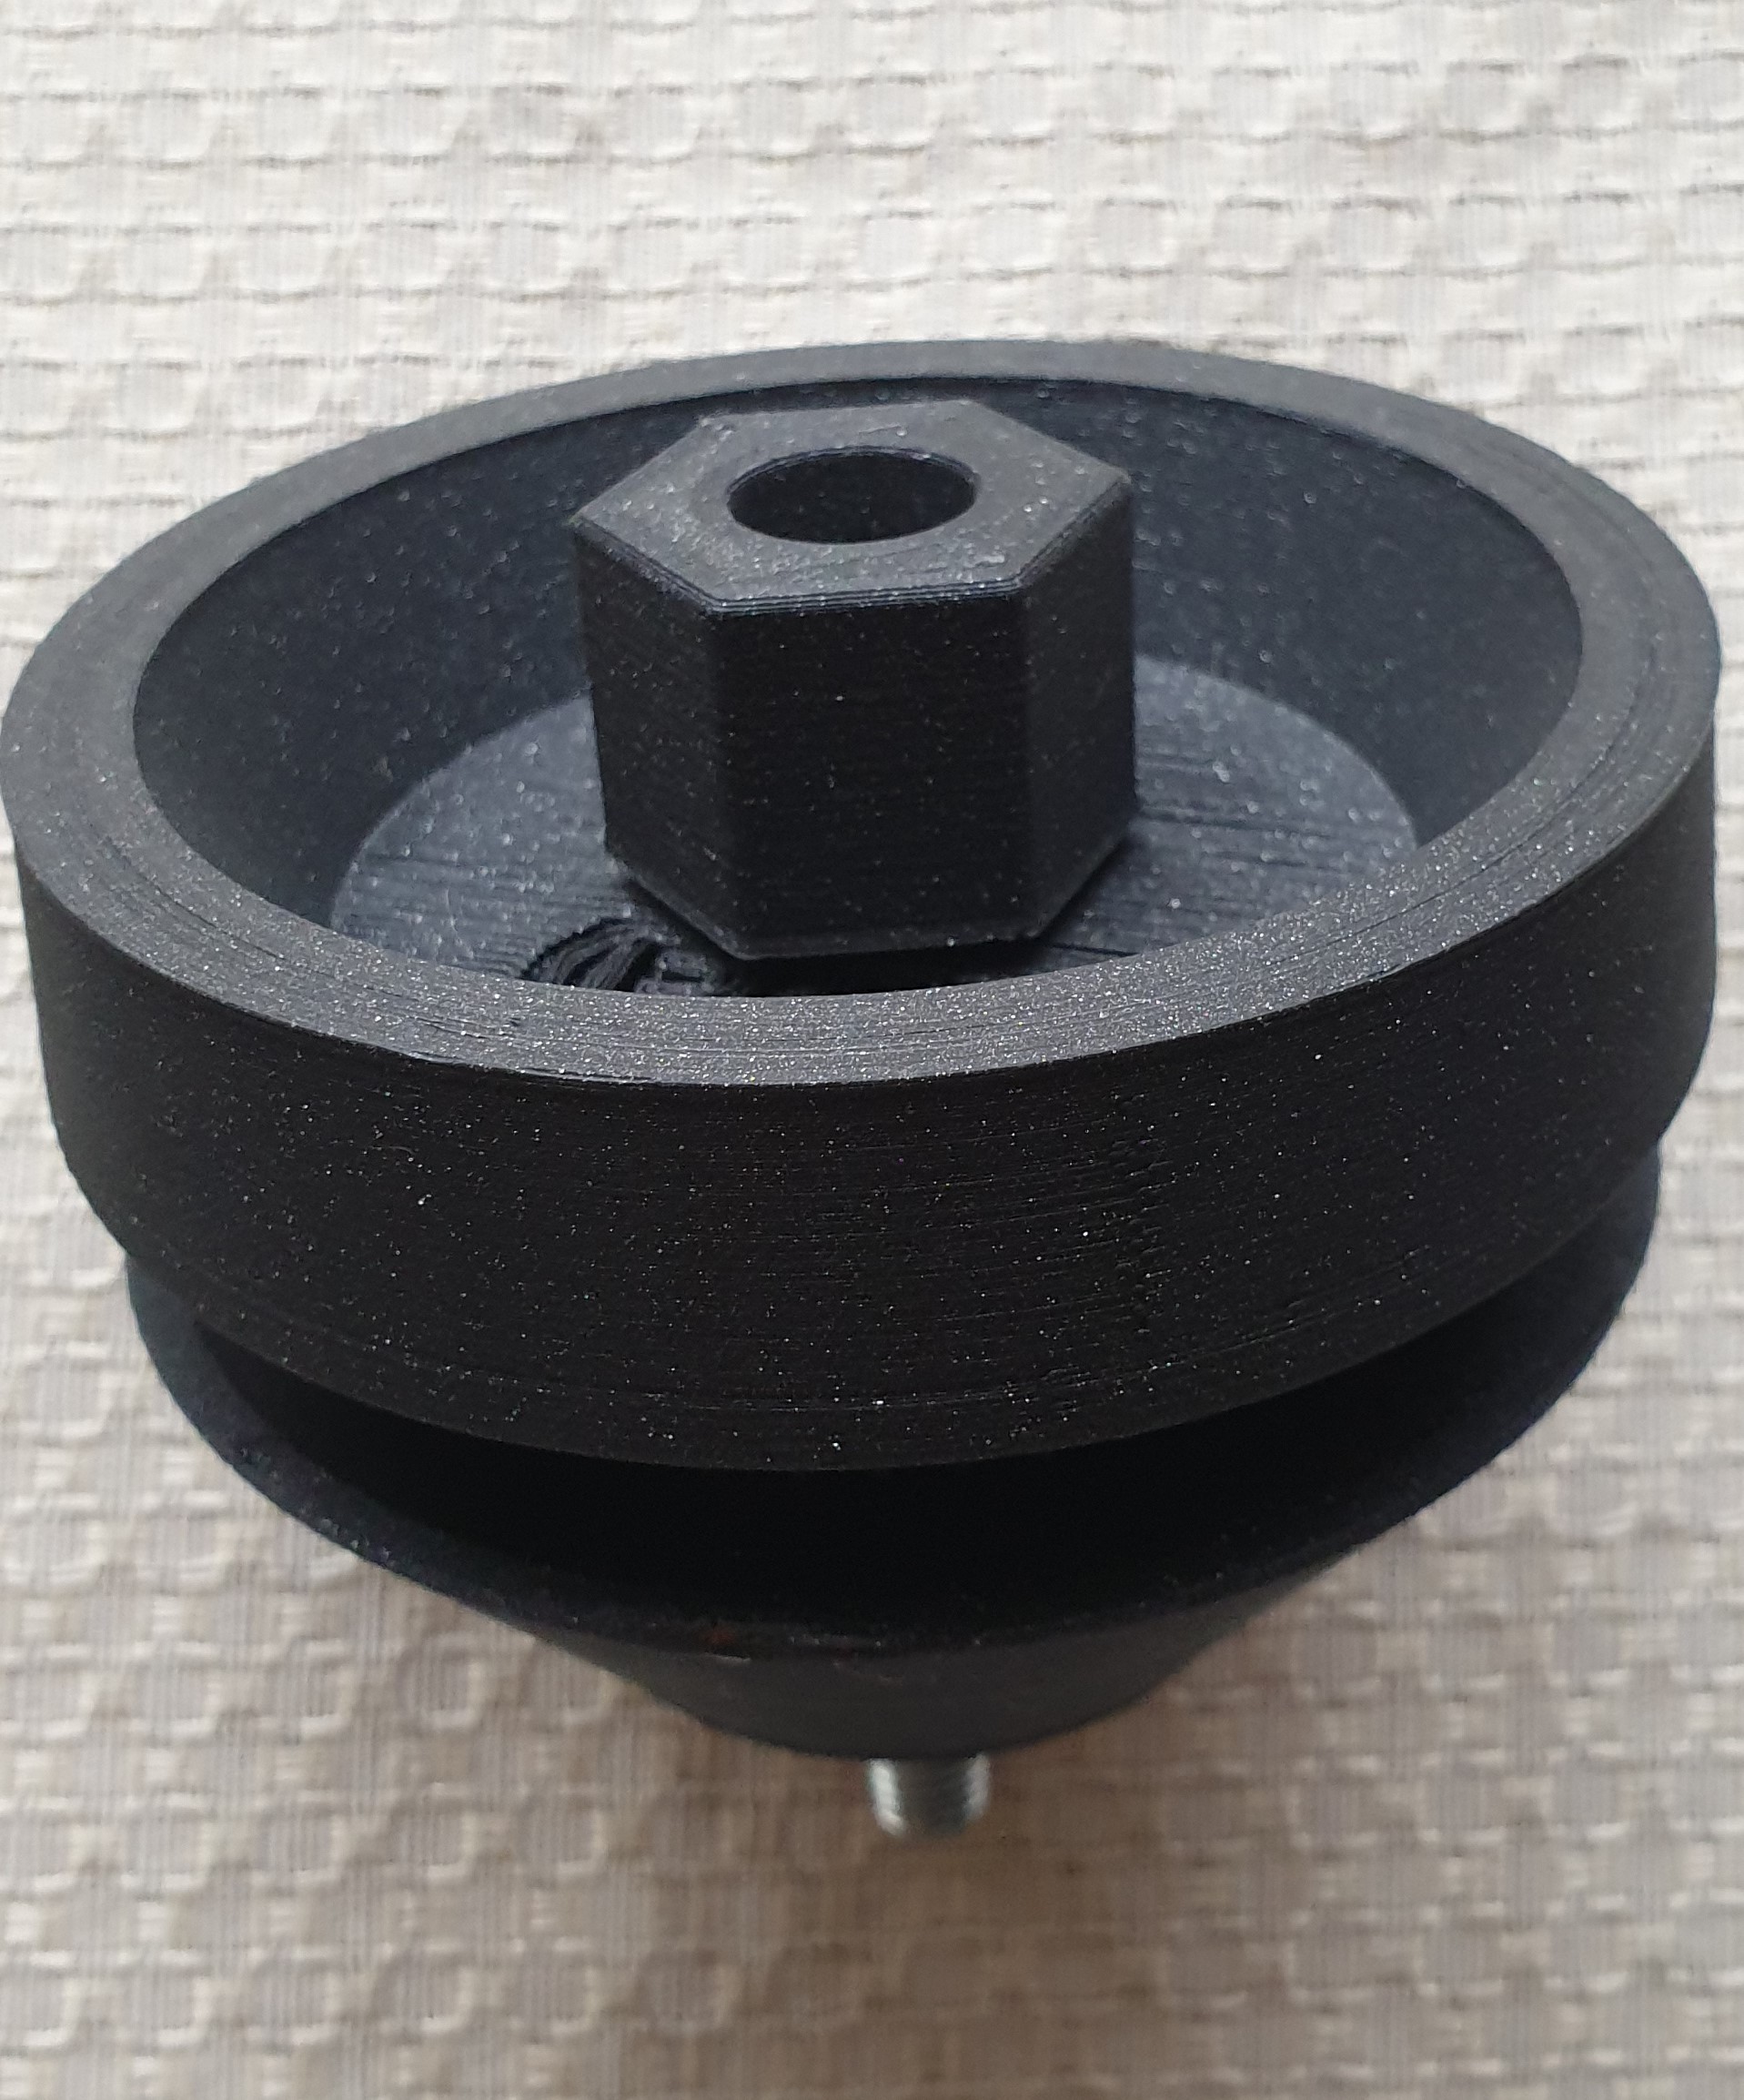
Step 5 – Screw the M8 nut on the bolt to the end
Step 6 – Prepare 6 sets: M8x40 screw, M8 washer, 22mm bearing
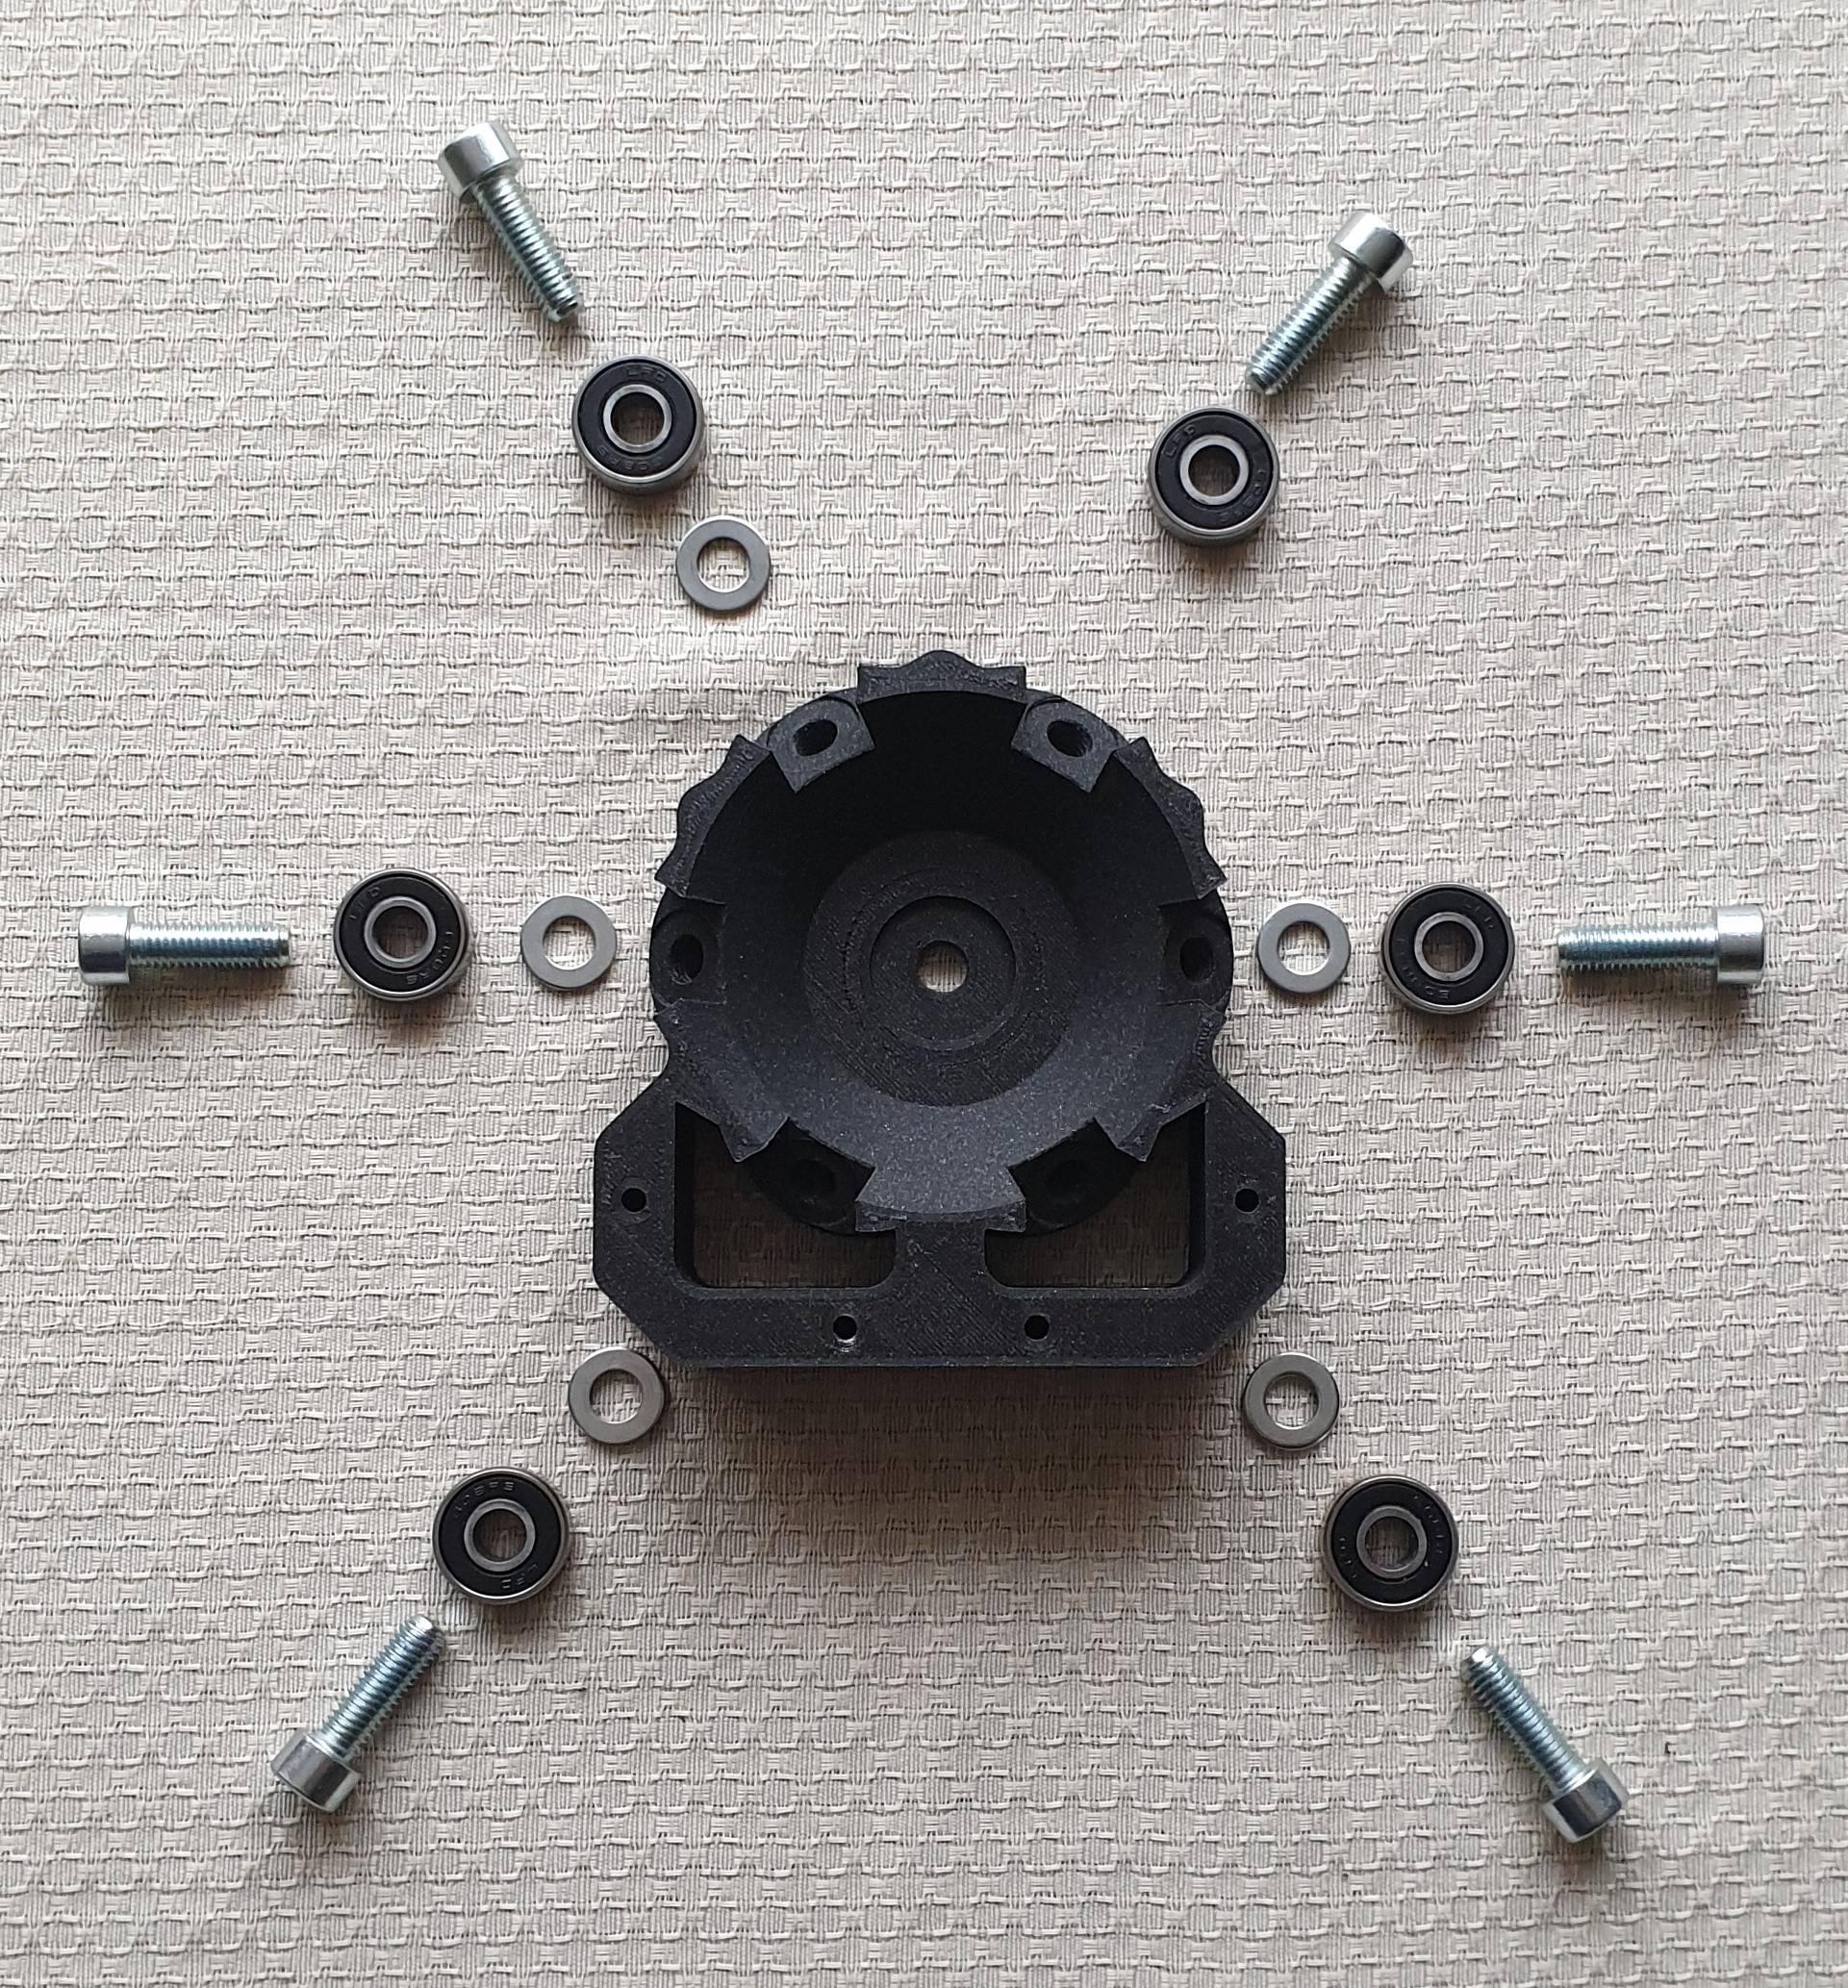
Step 7 – Insert M8 washer into holes

Step 8 – Place the bearings on the washers and screw them on

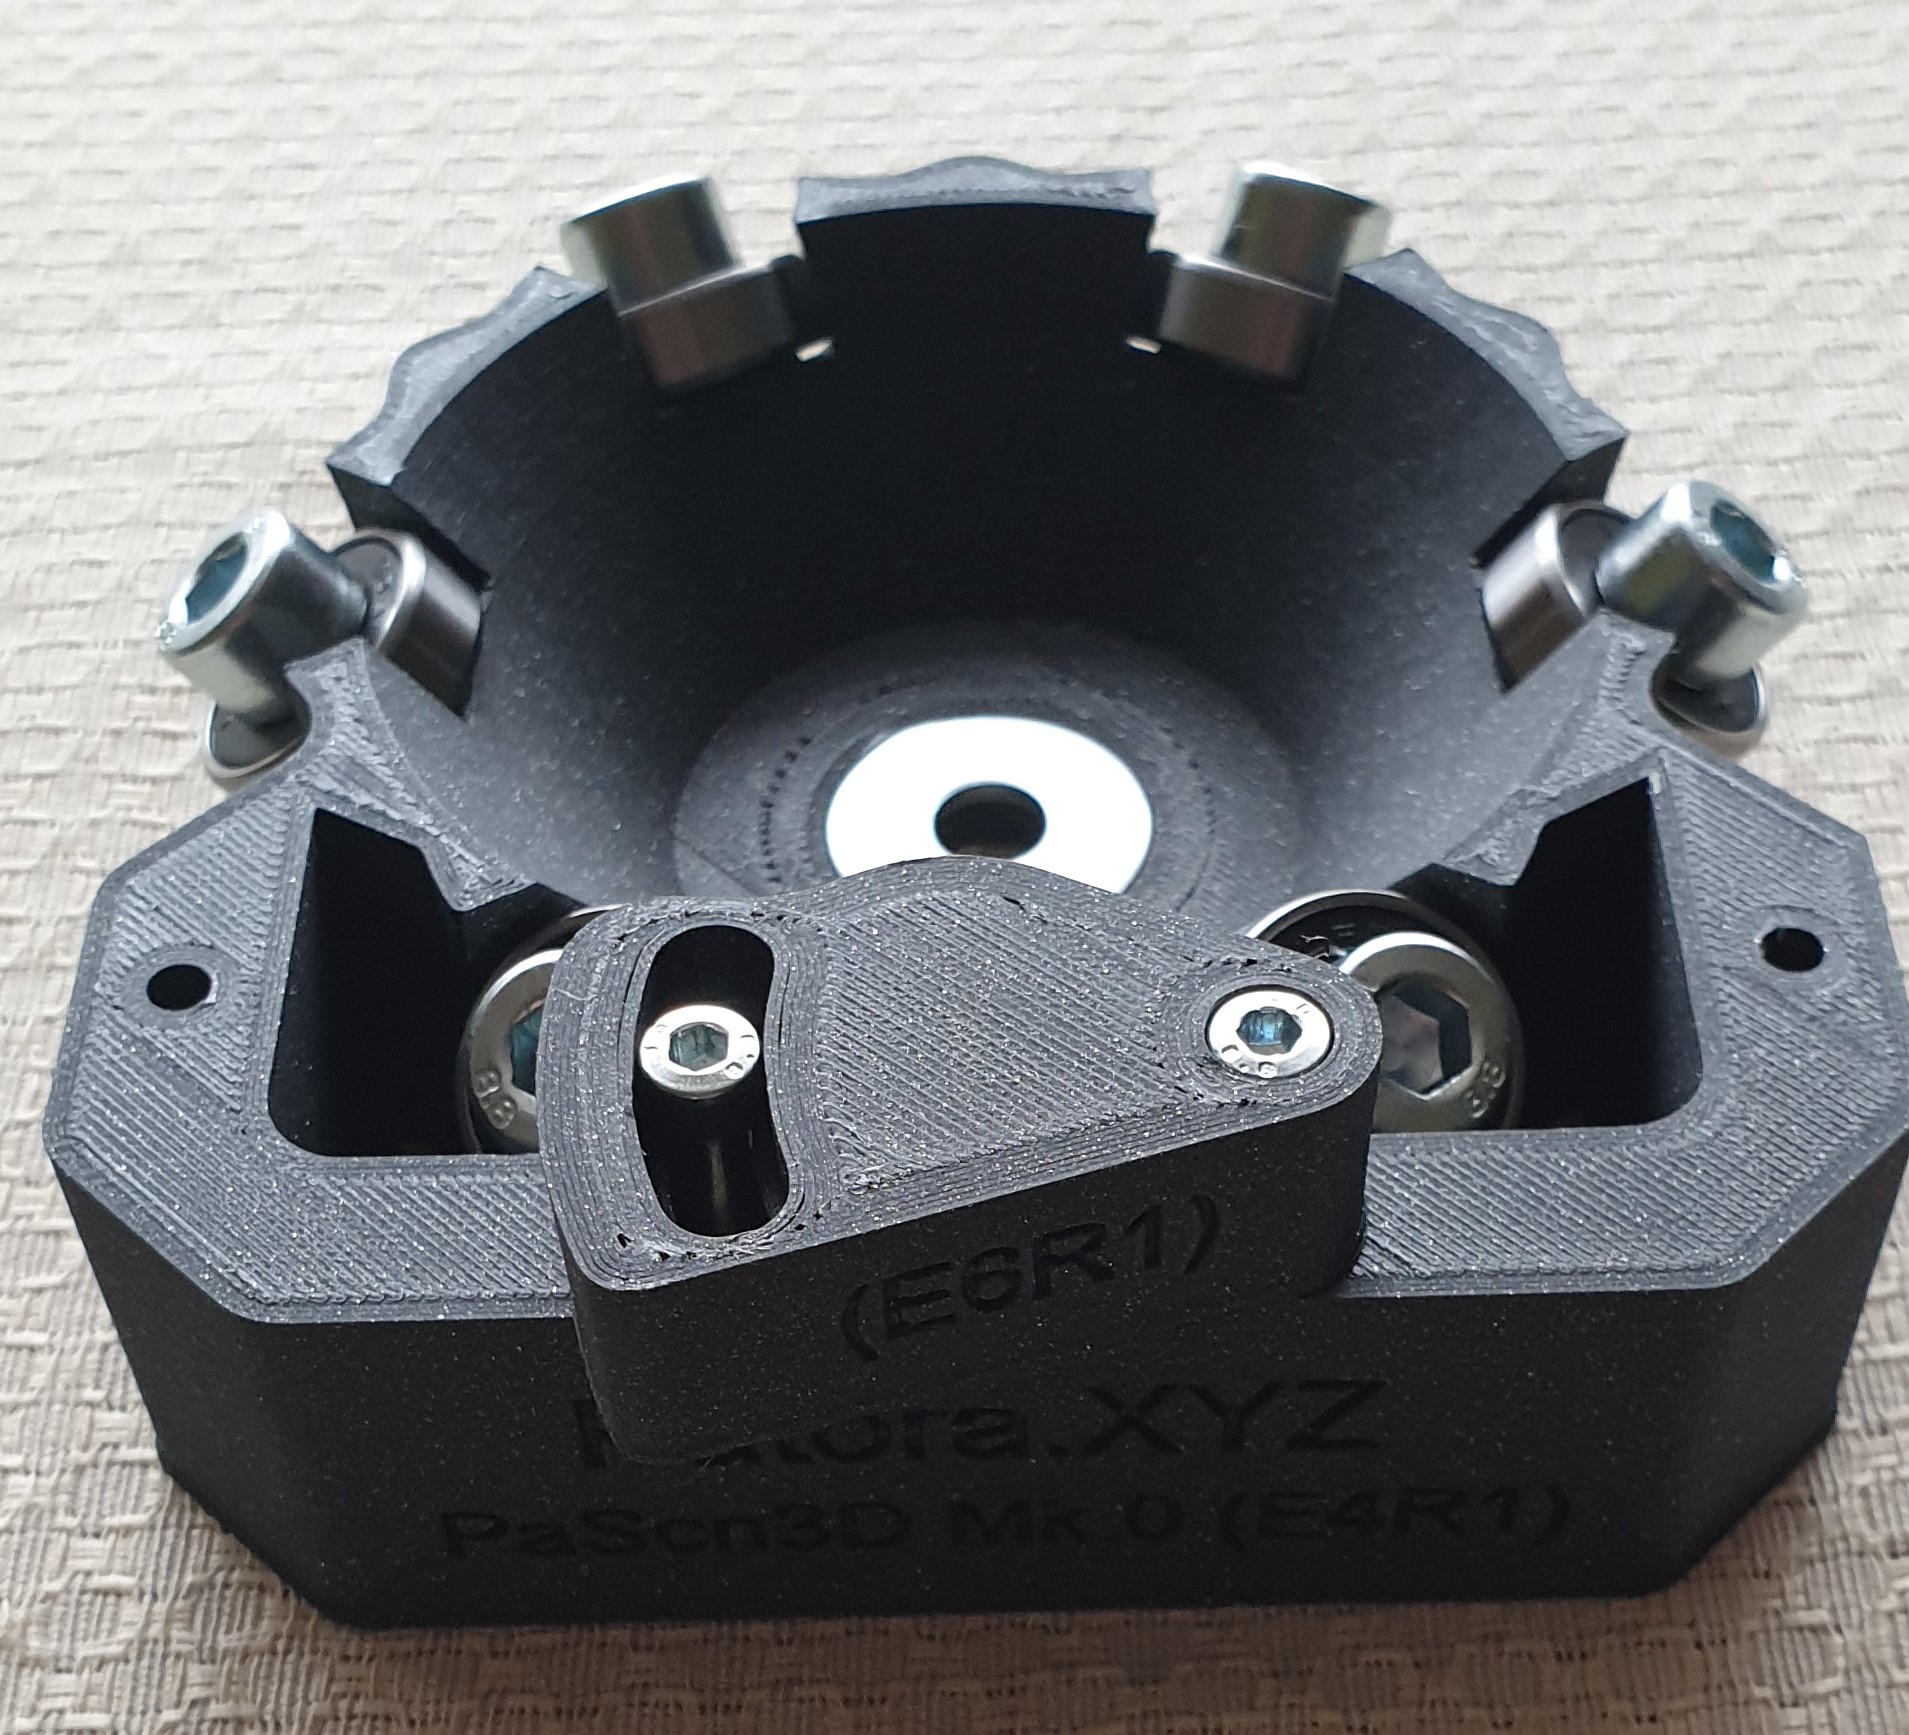
Step 9 – Fasten the E6R1 using M4x40 screws. Do not tighten the screws as they will need to be adjusted. Place a wide m8 nut on the E4R1.
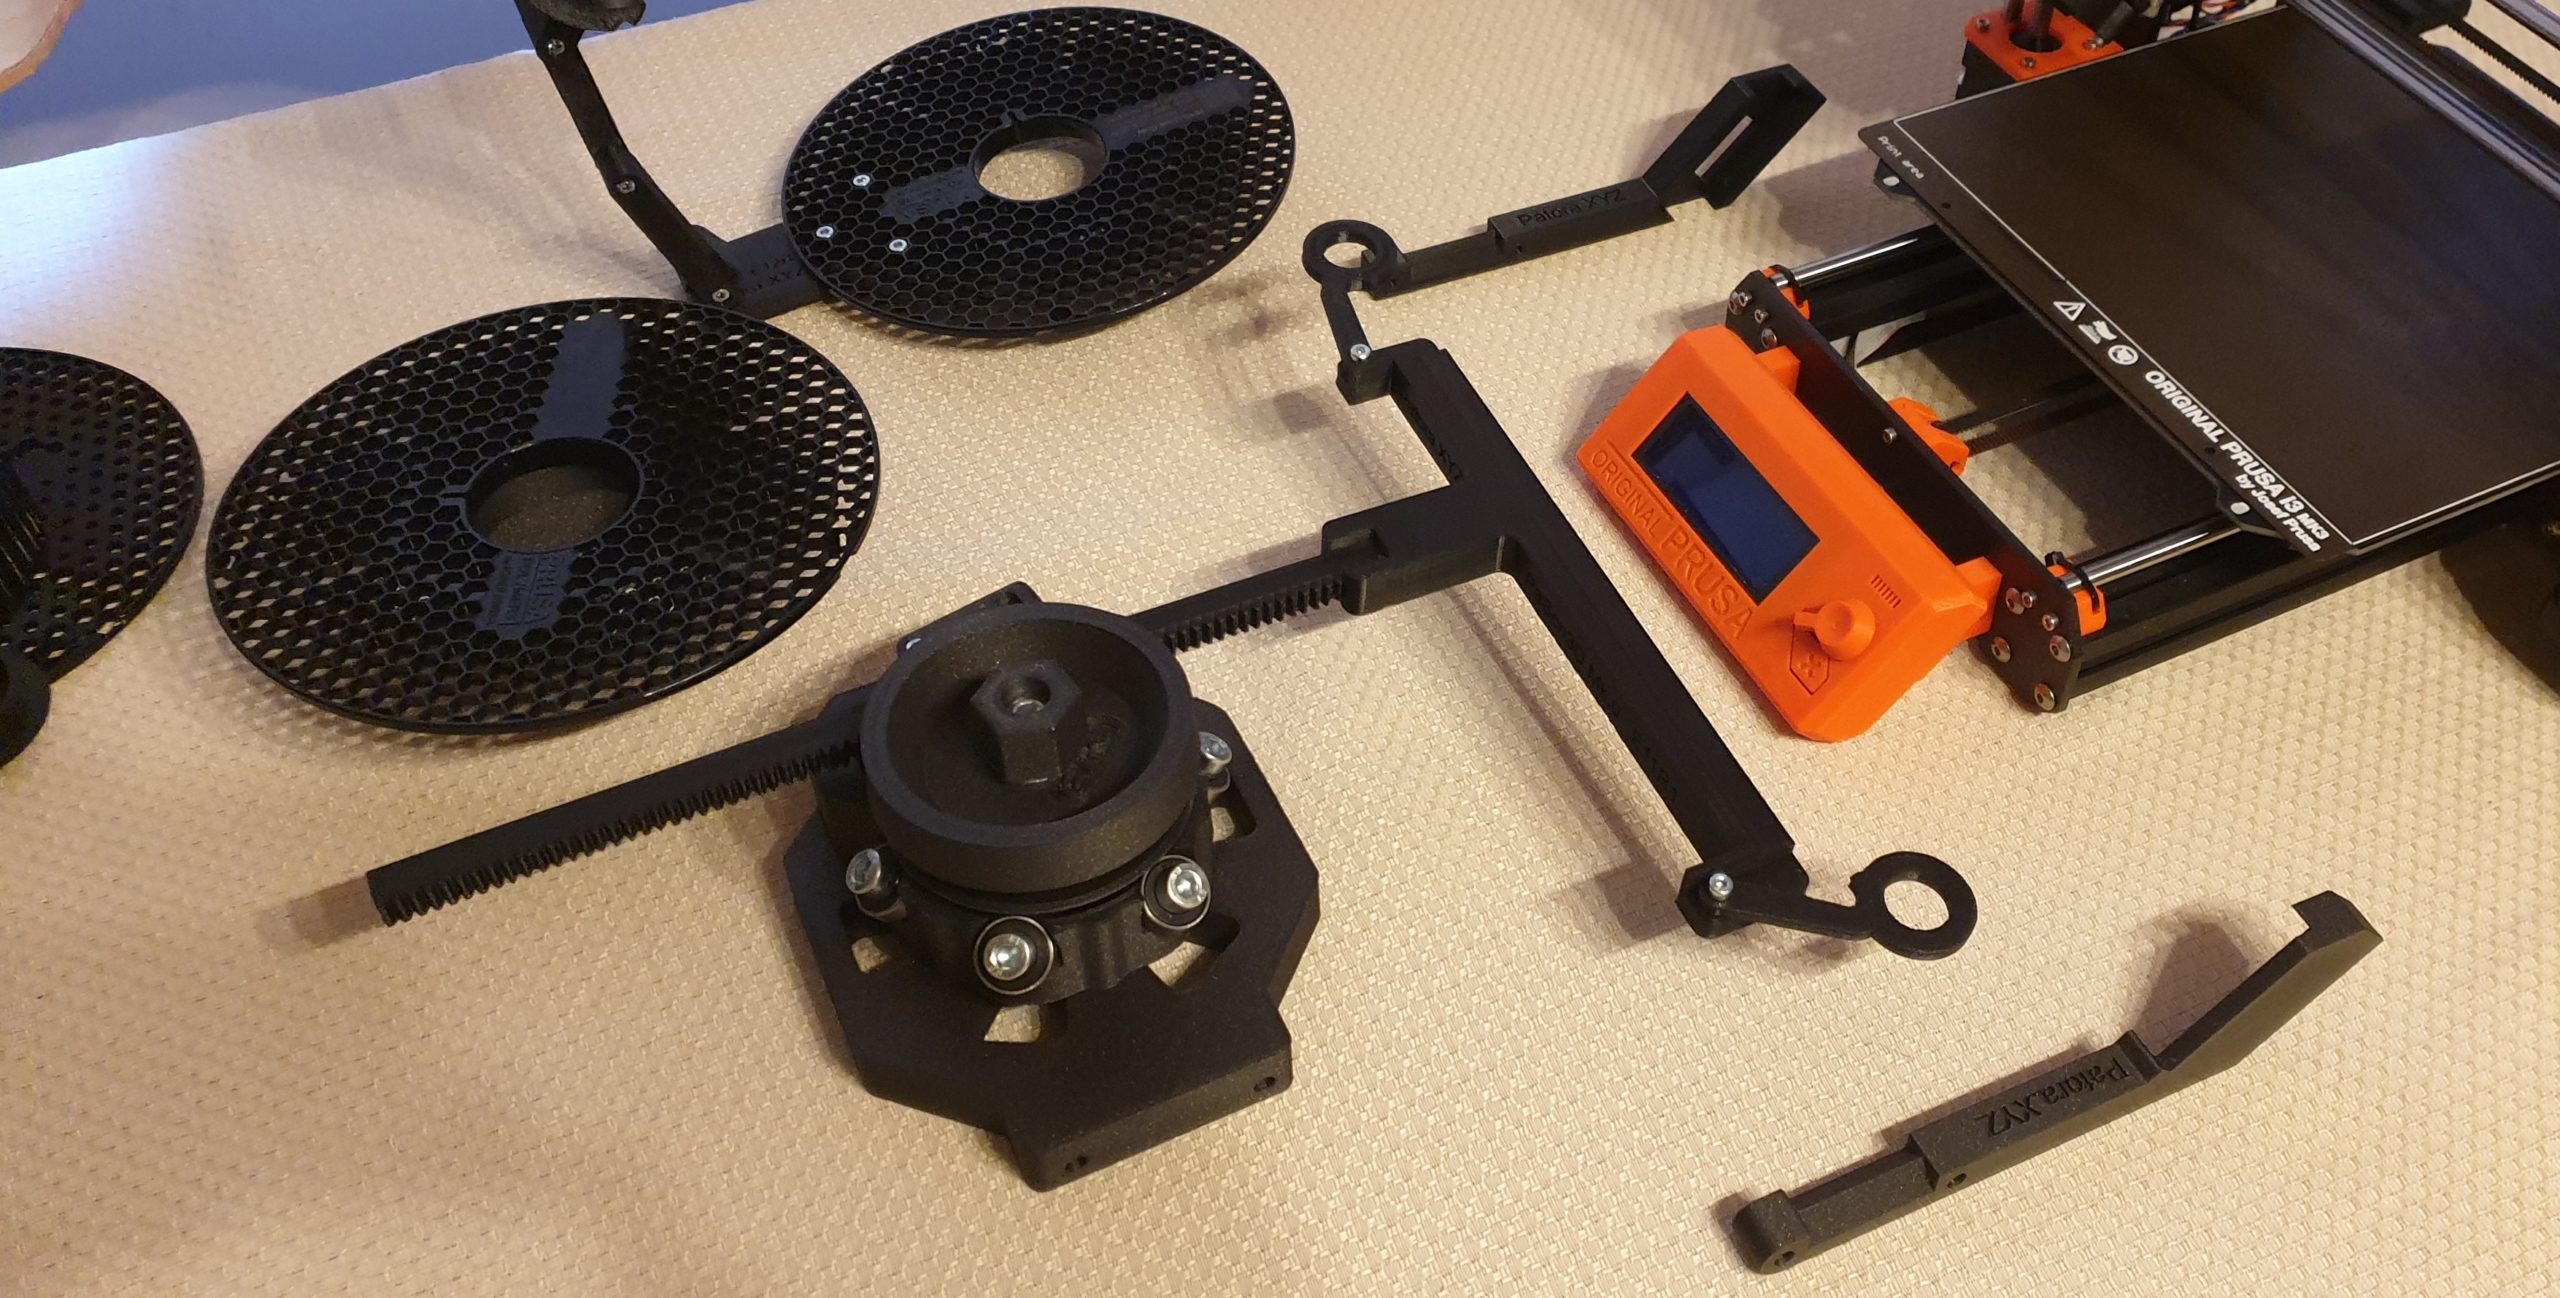
Step 10 – Prepare the components for assembly as shown in the picture below.

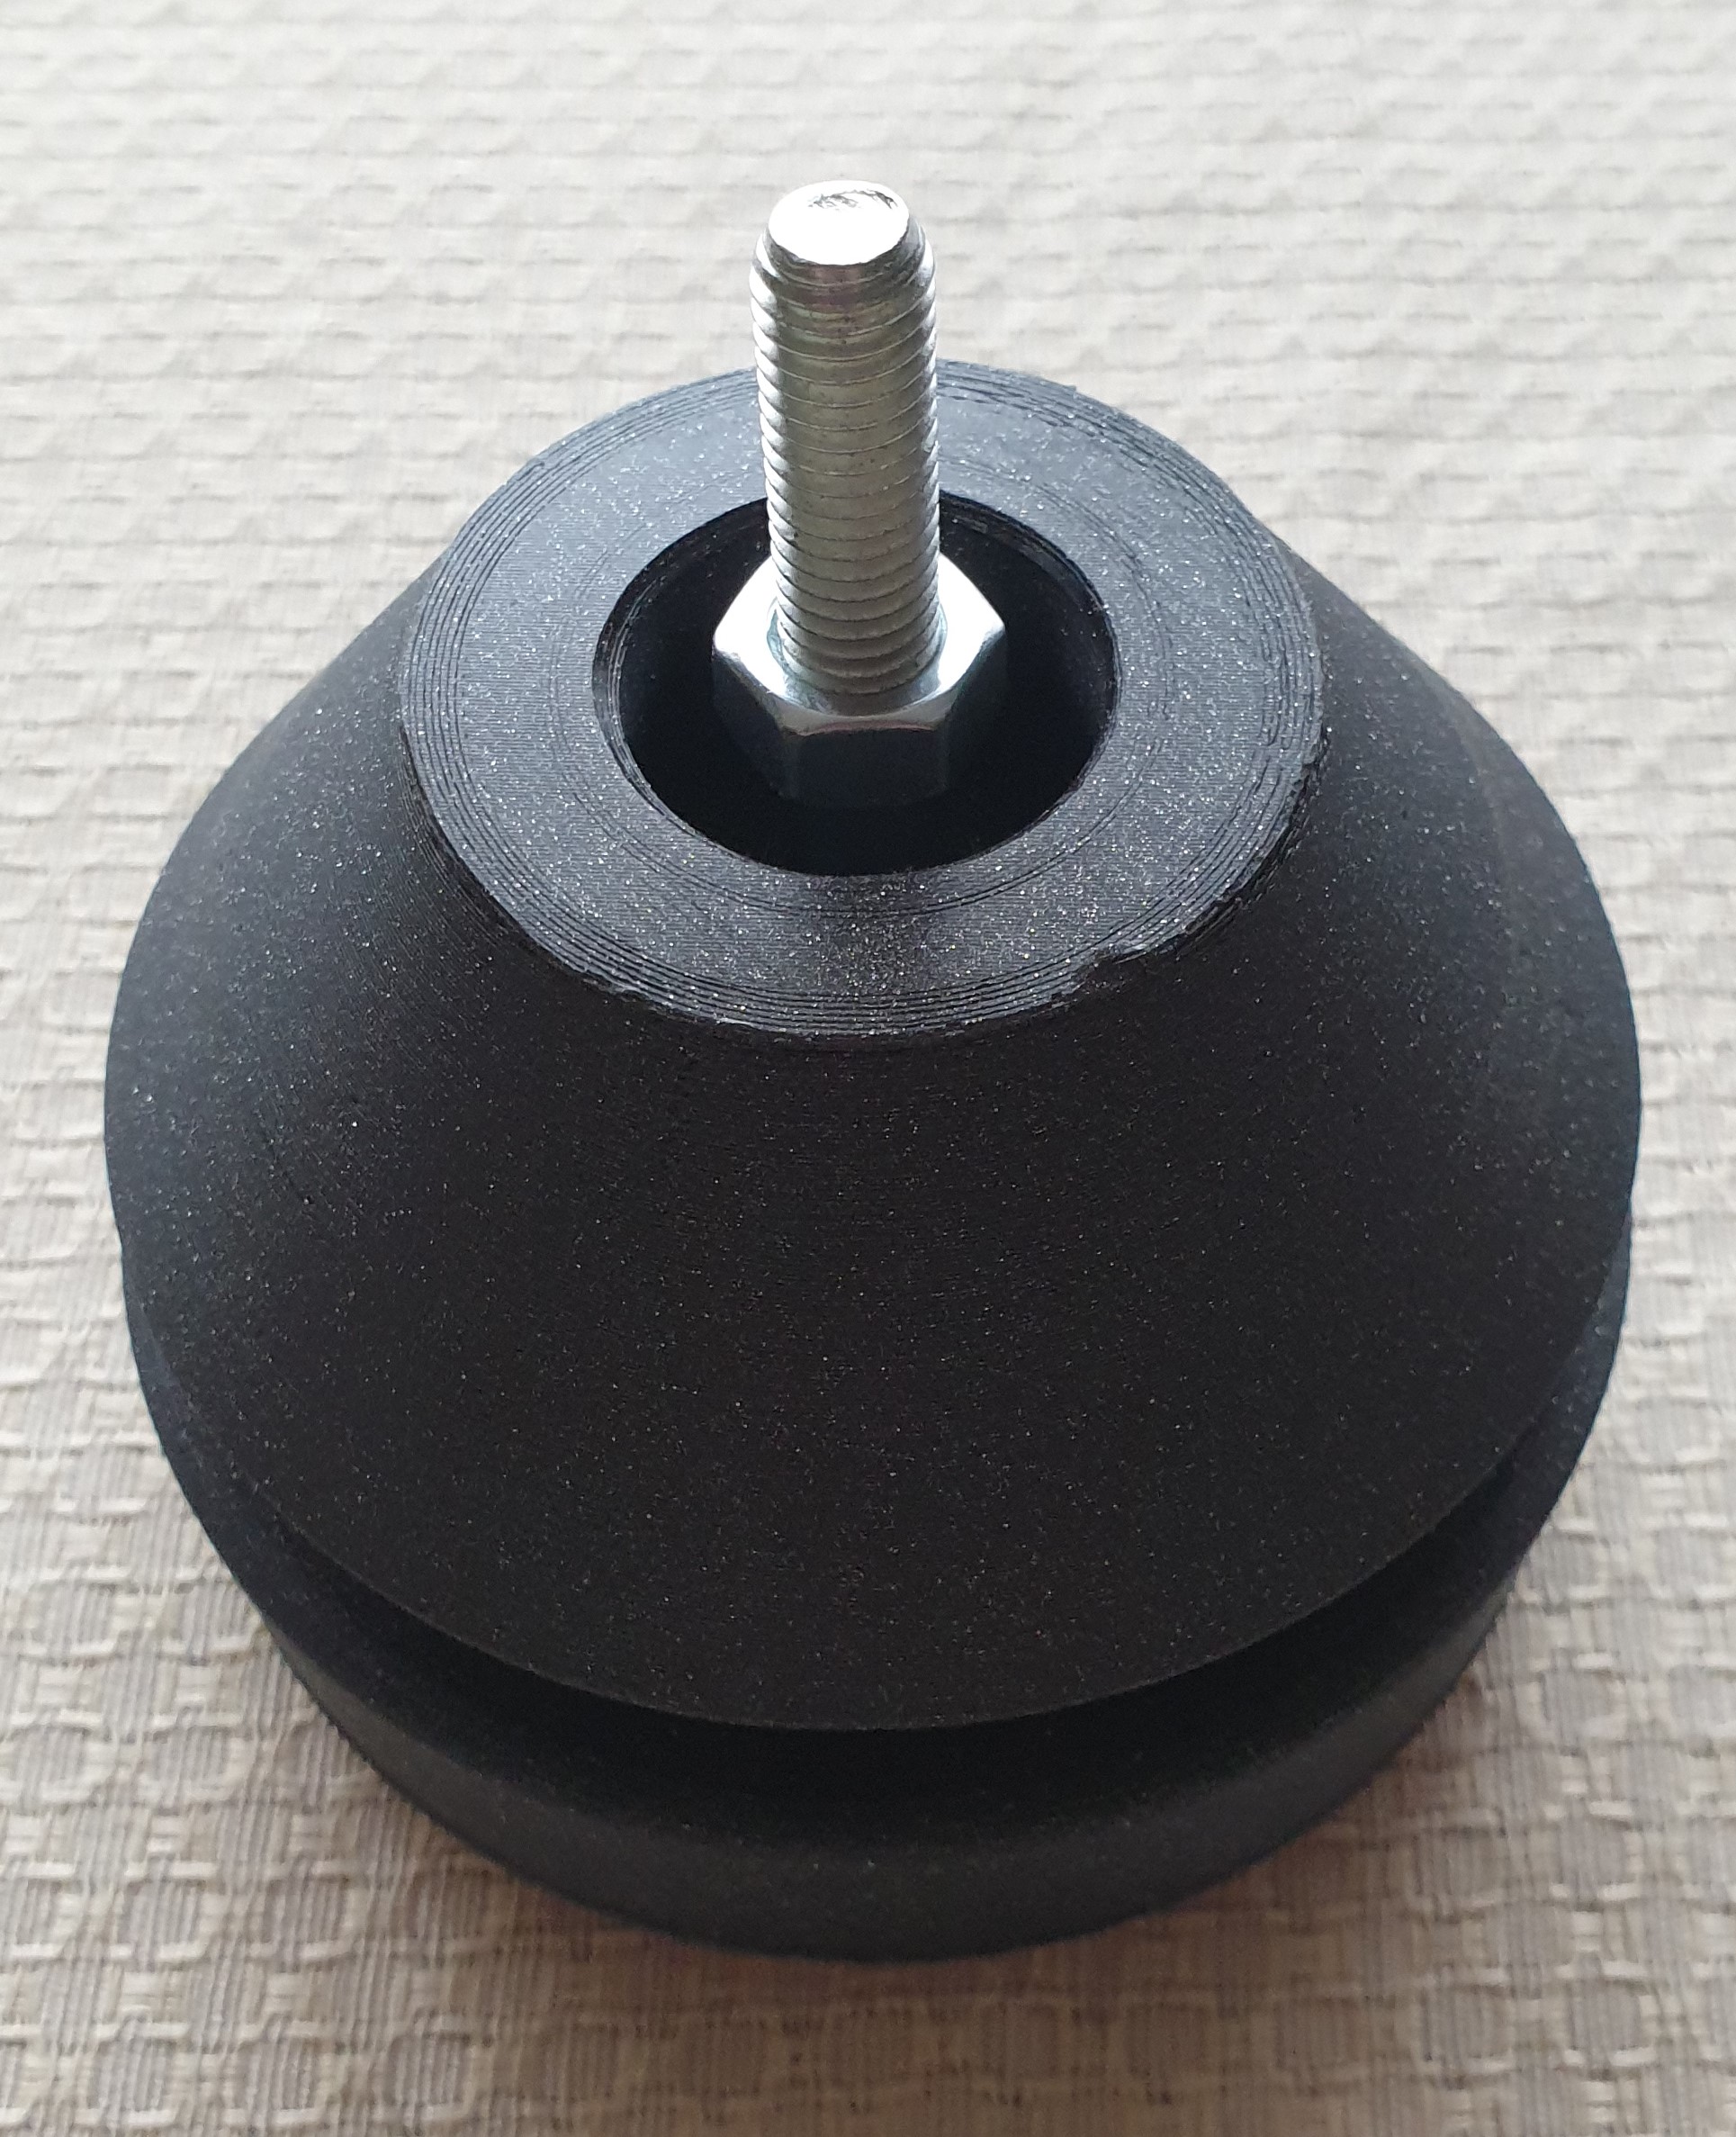
Step 11 – Connect the elements. Press the E8R1 firmly and make sure the E5R1 and E7R1 rotate freely. Turn the component over and put a washer on the M8 screw and tighten the M8 nut. The parts should be twisted so that the E8R1 part should be fixed while the E5R1 and E7R1 parts should rotate freely.

Step 12 – Prepare 6 sets: washer M4, screw M4x40
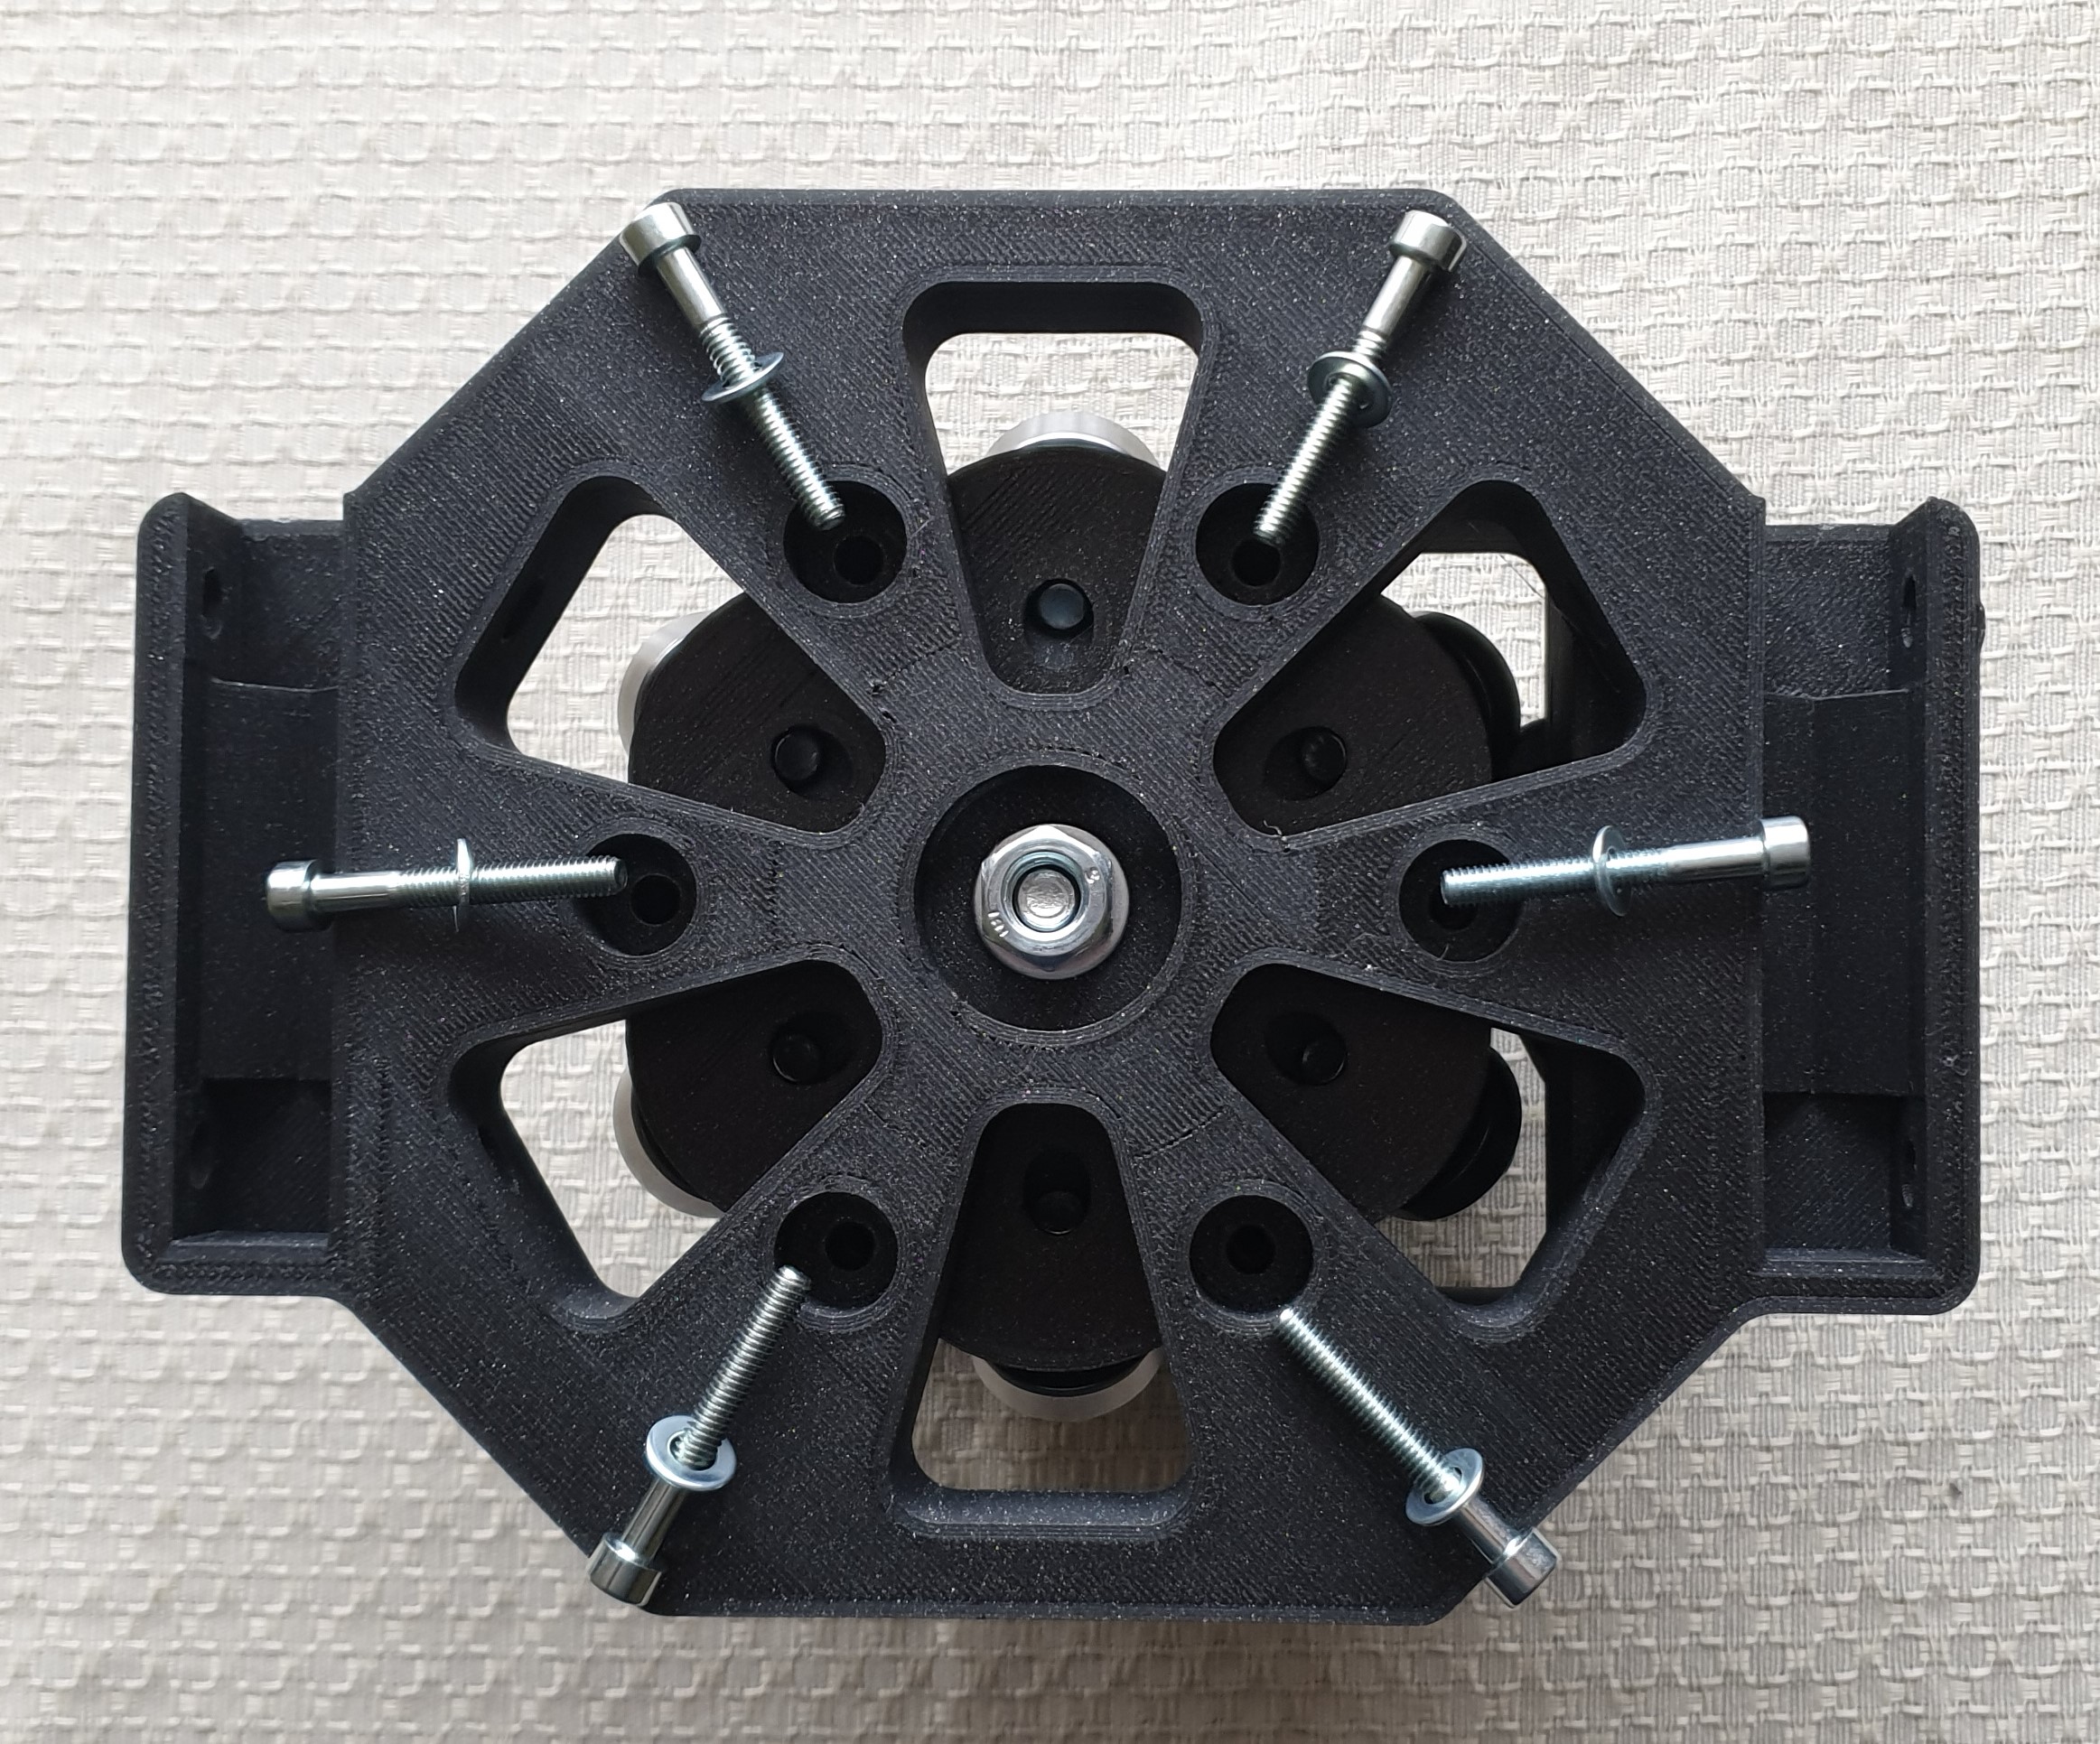
Step 13 – Tighten E3R1 and E4R1 with 6 screws. Remember to make sure that E5R1 parts rotate freely.

Step 14 – Prepare E11R1, 2 clips and 2 pcs. of M4x12 screw.
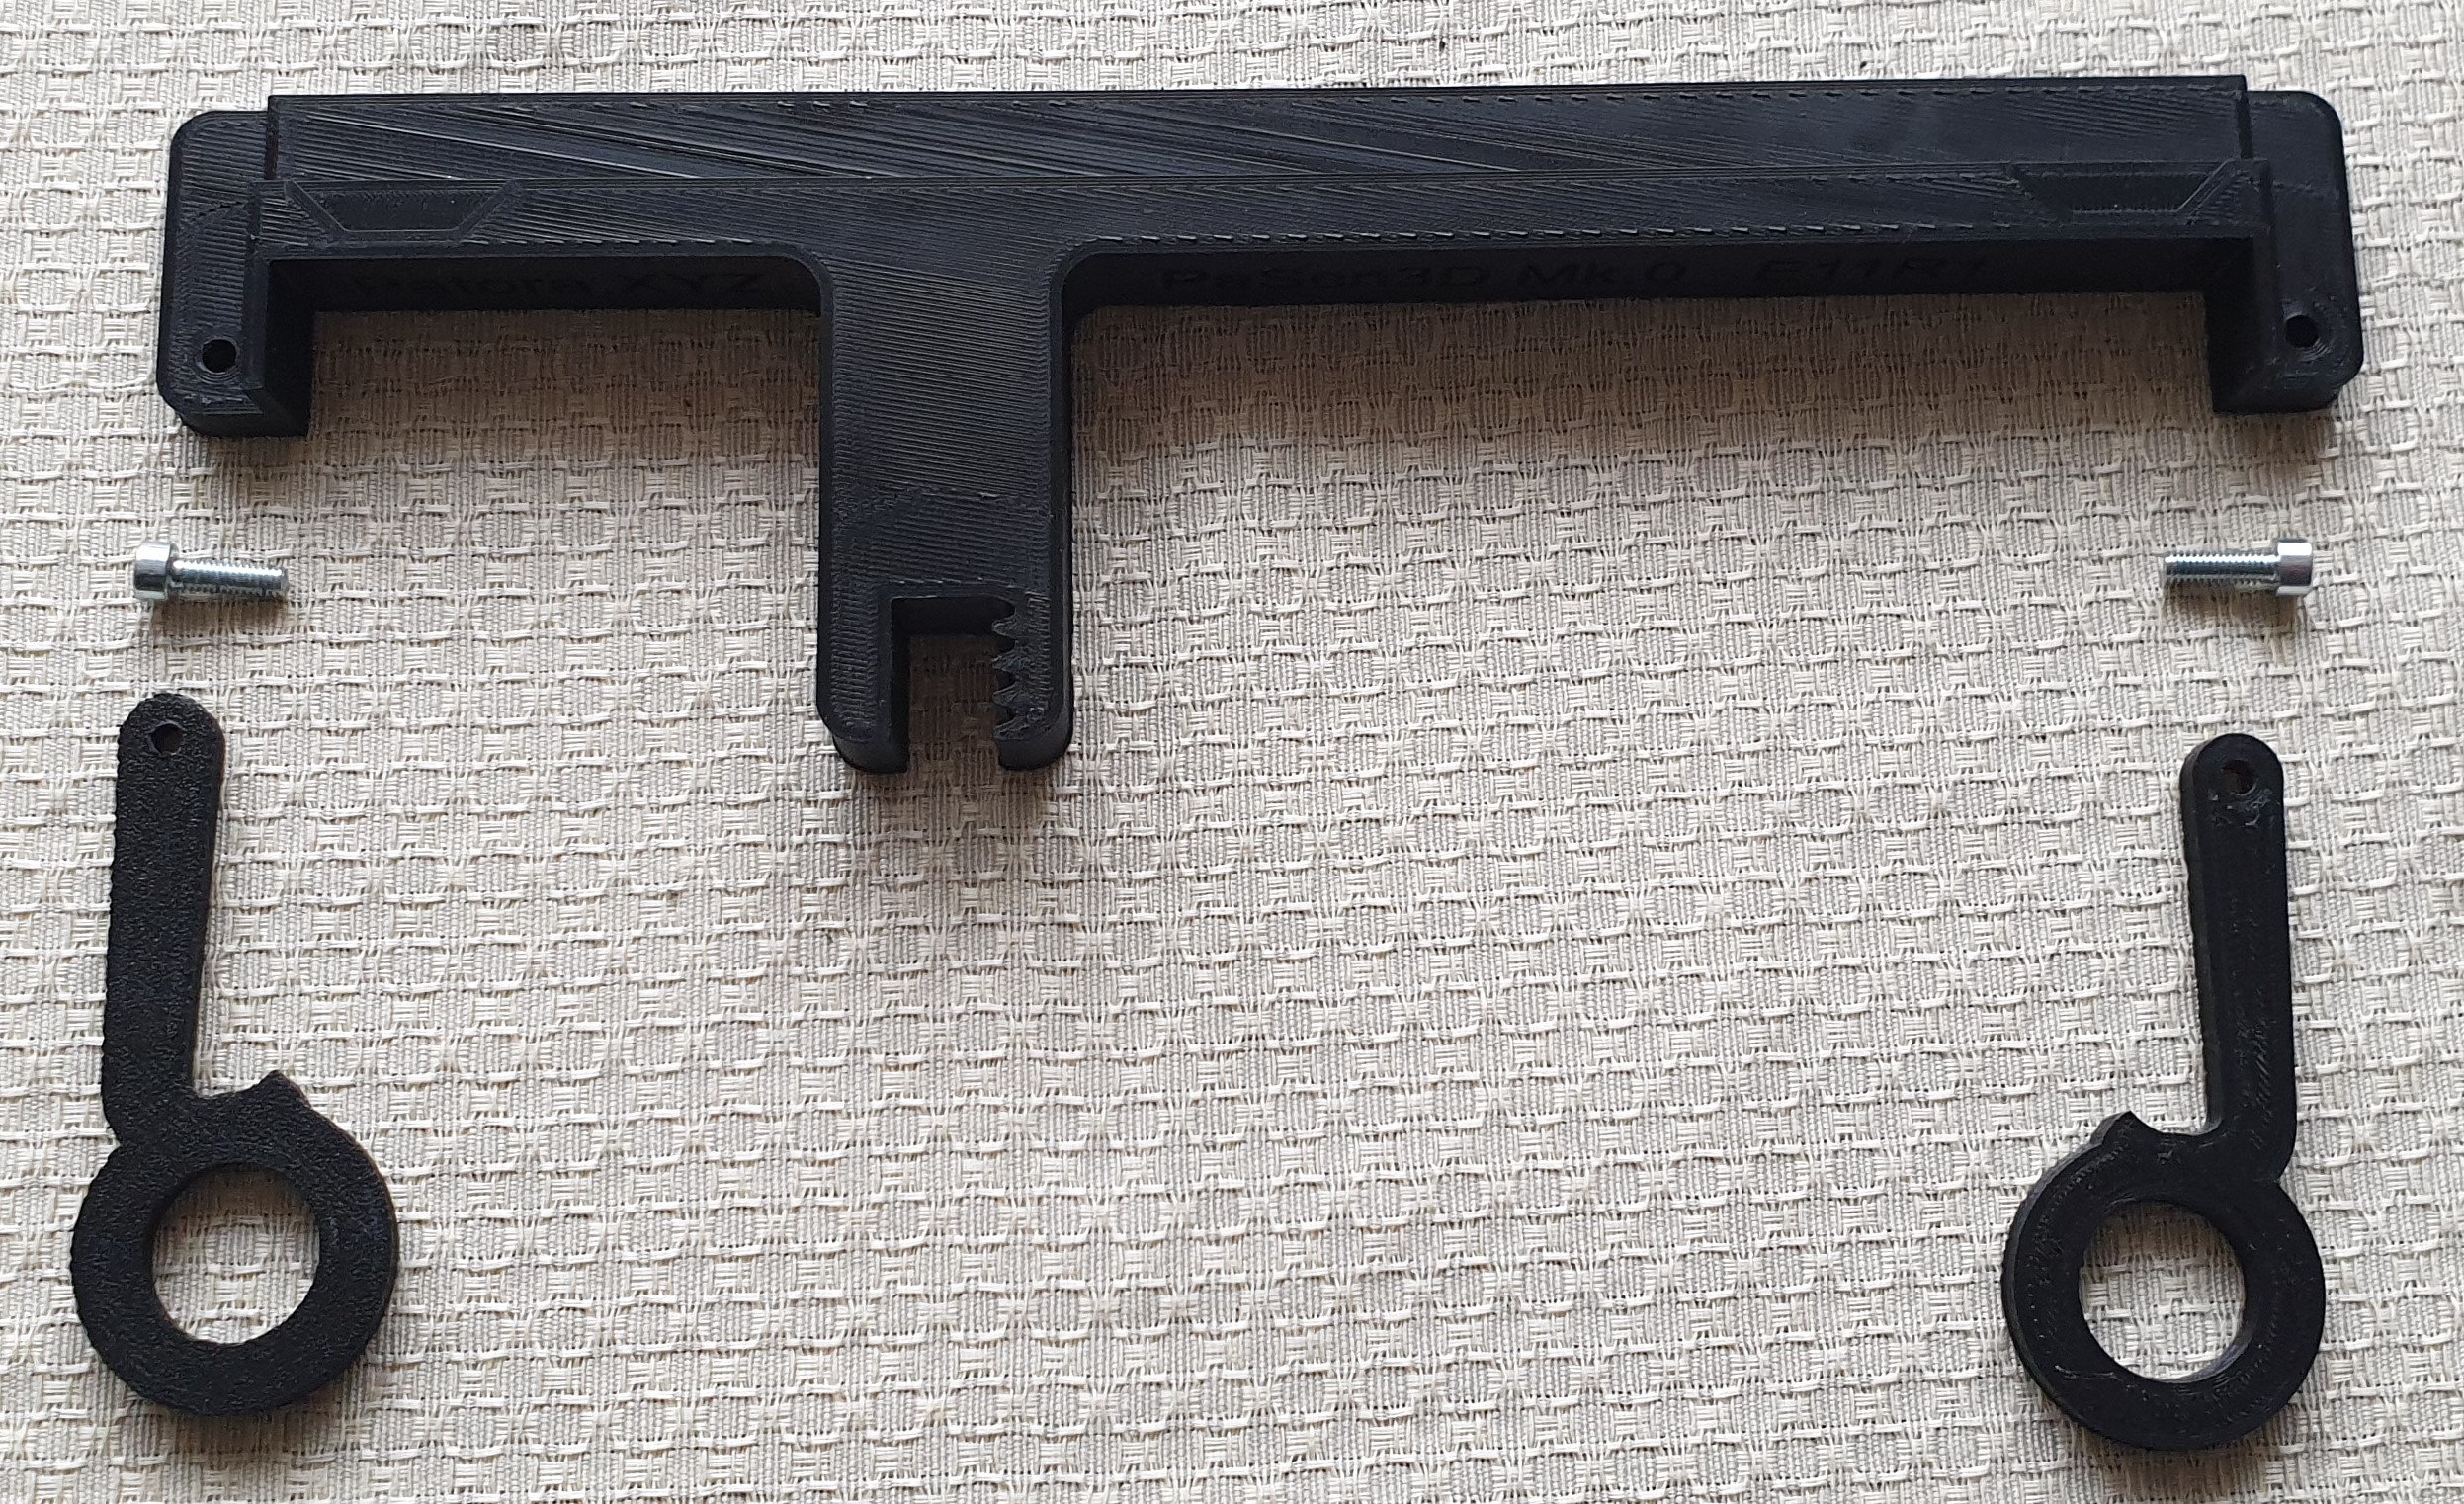
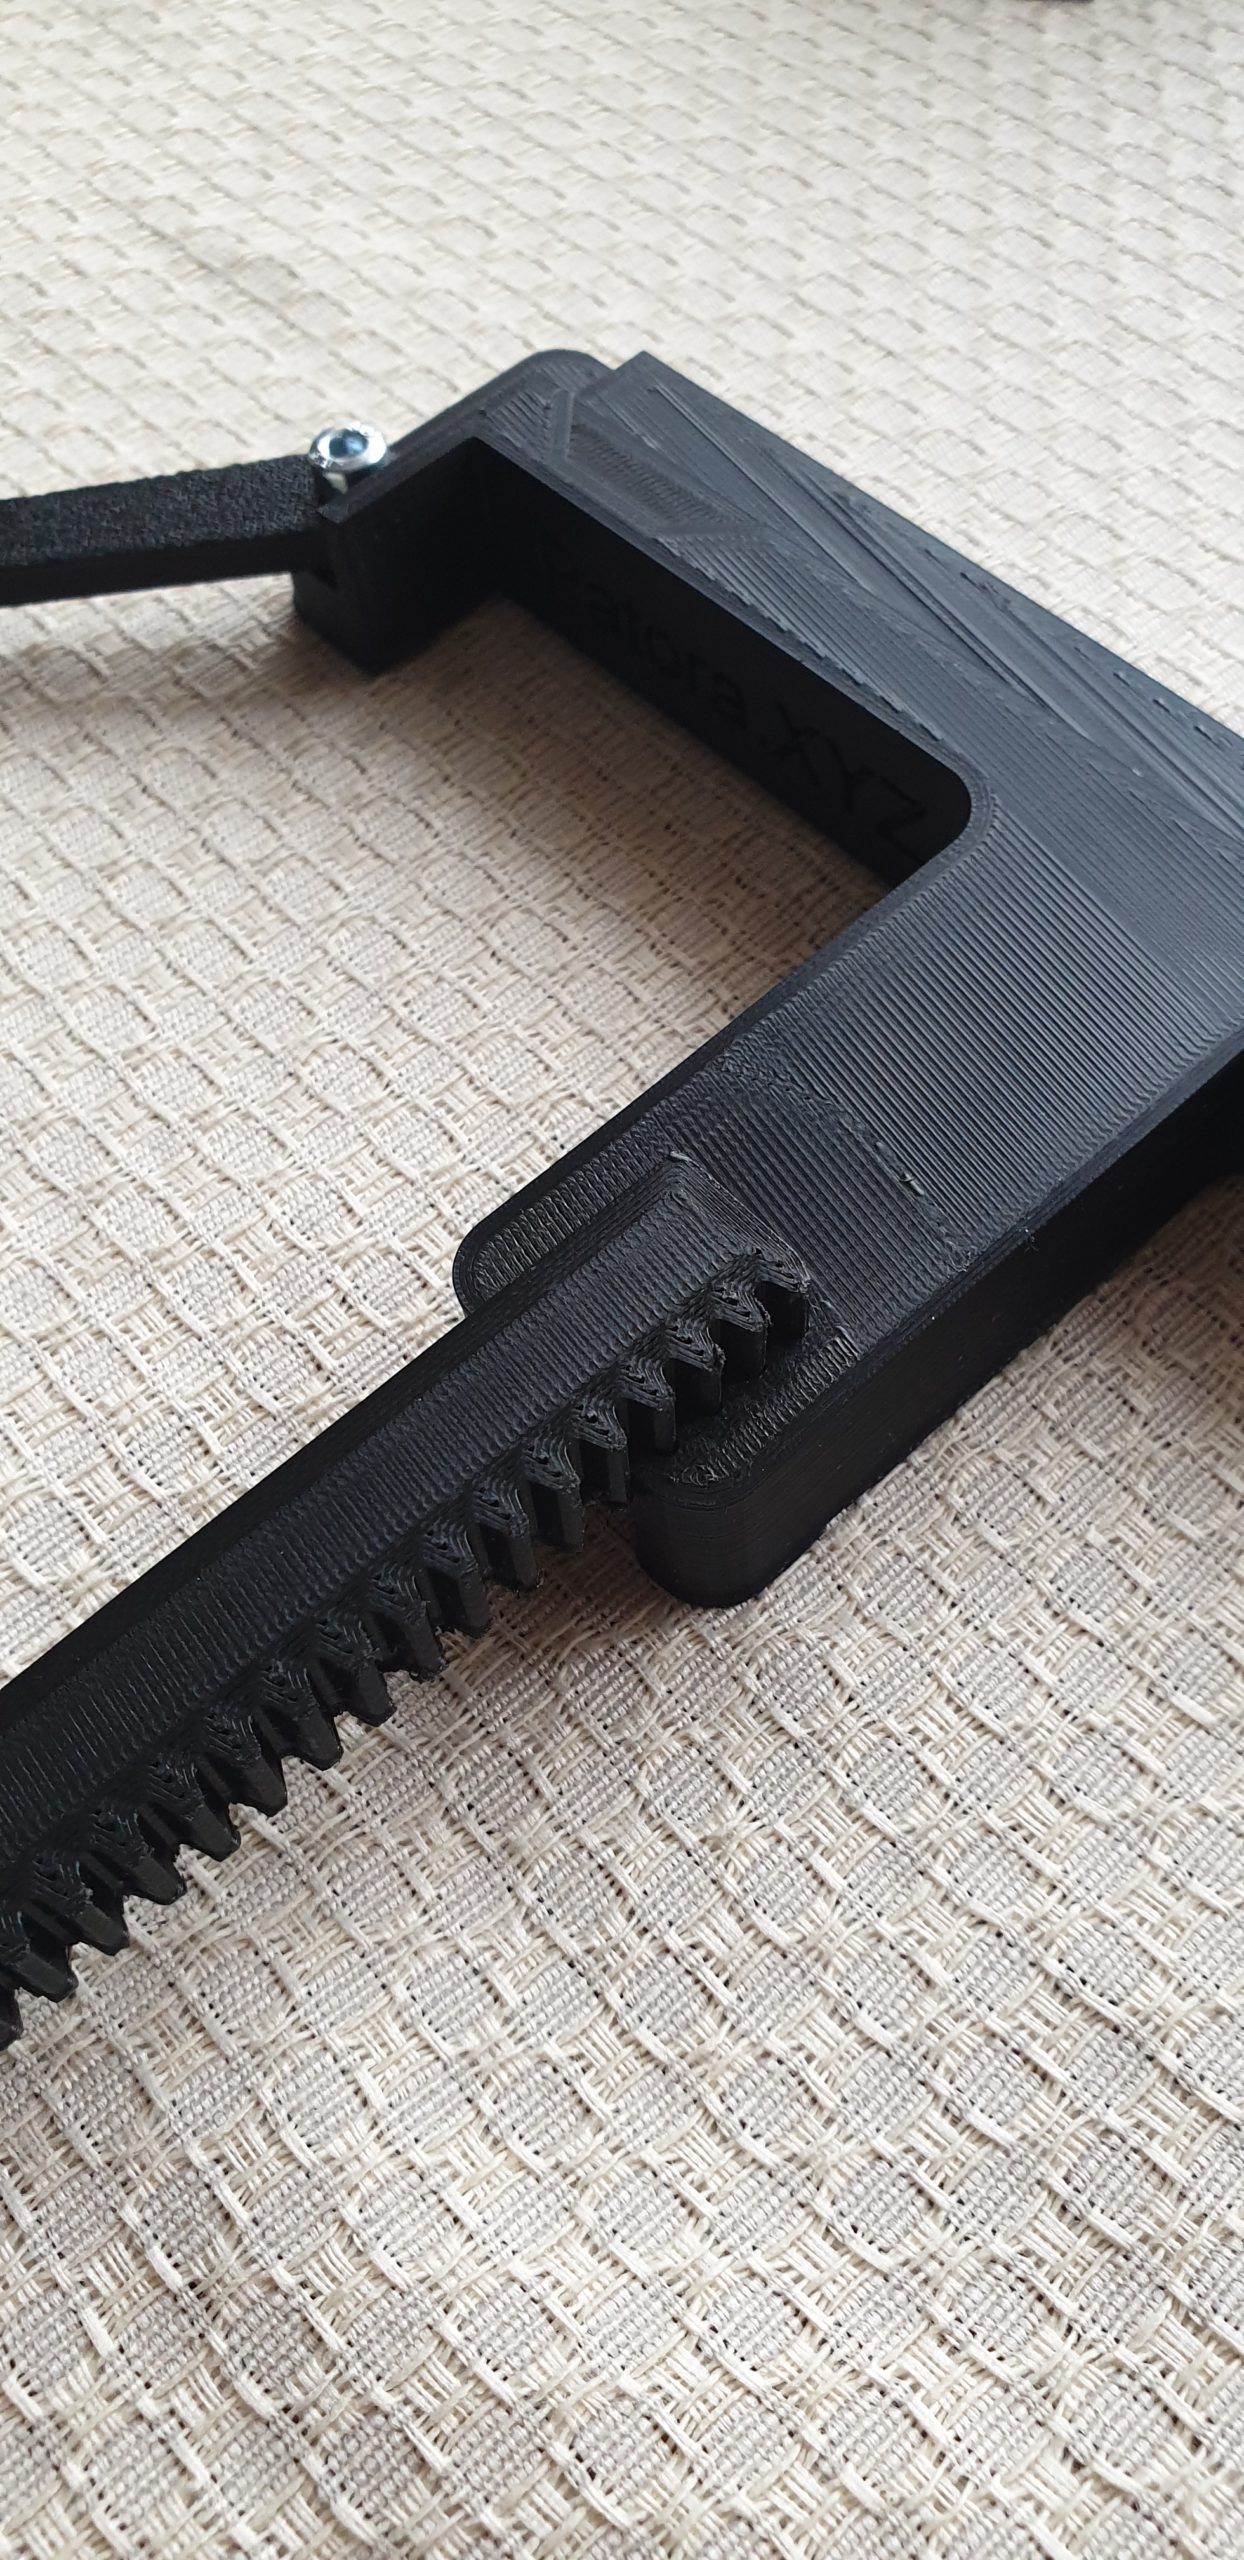
Step 15 – Twist the pieces. Pay attention to how the clips are mounted.
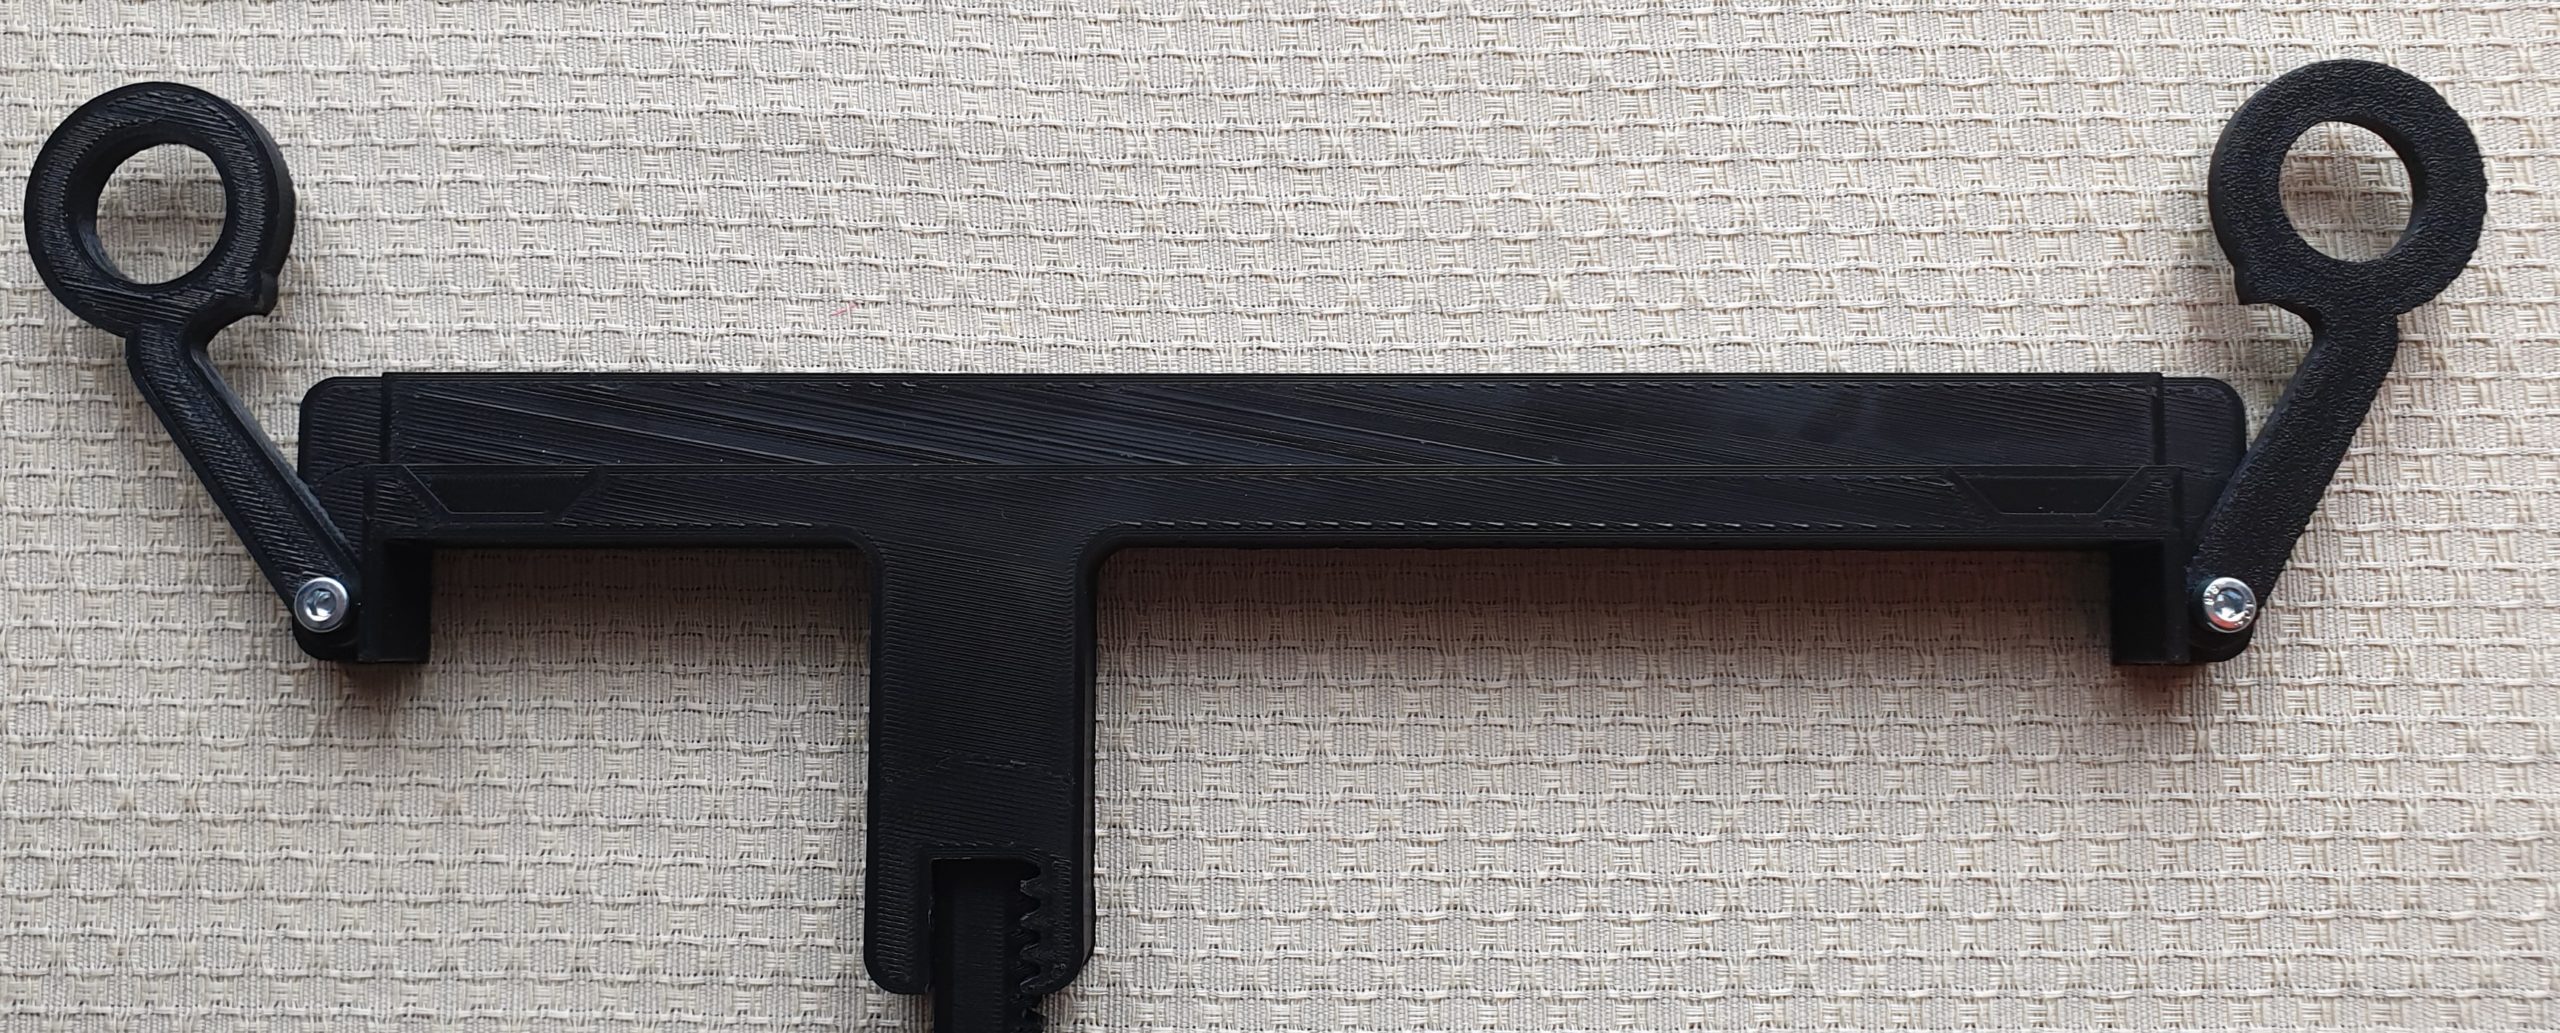
Step 16 – Connect the E10R1 and E11R1 components. Note that during final assembly you will have to adjust this connection.
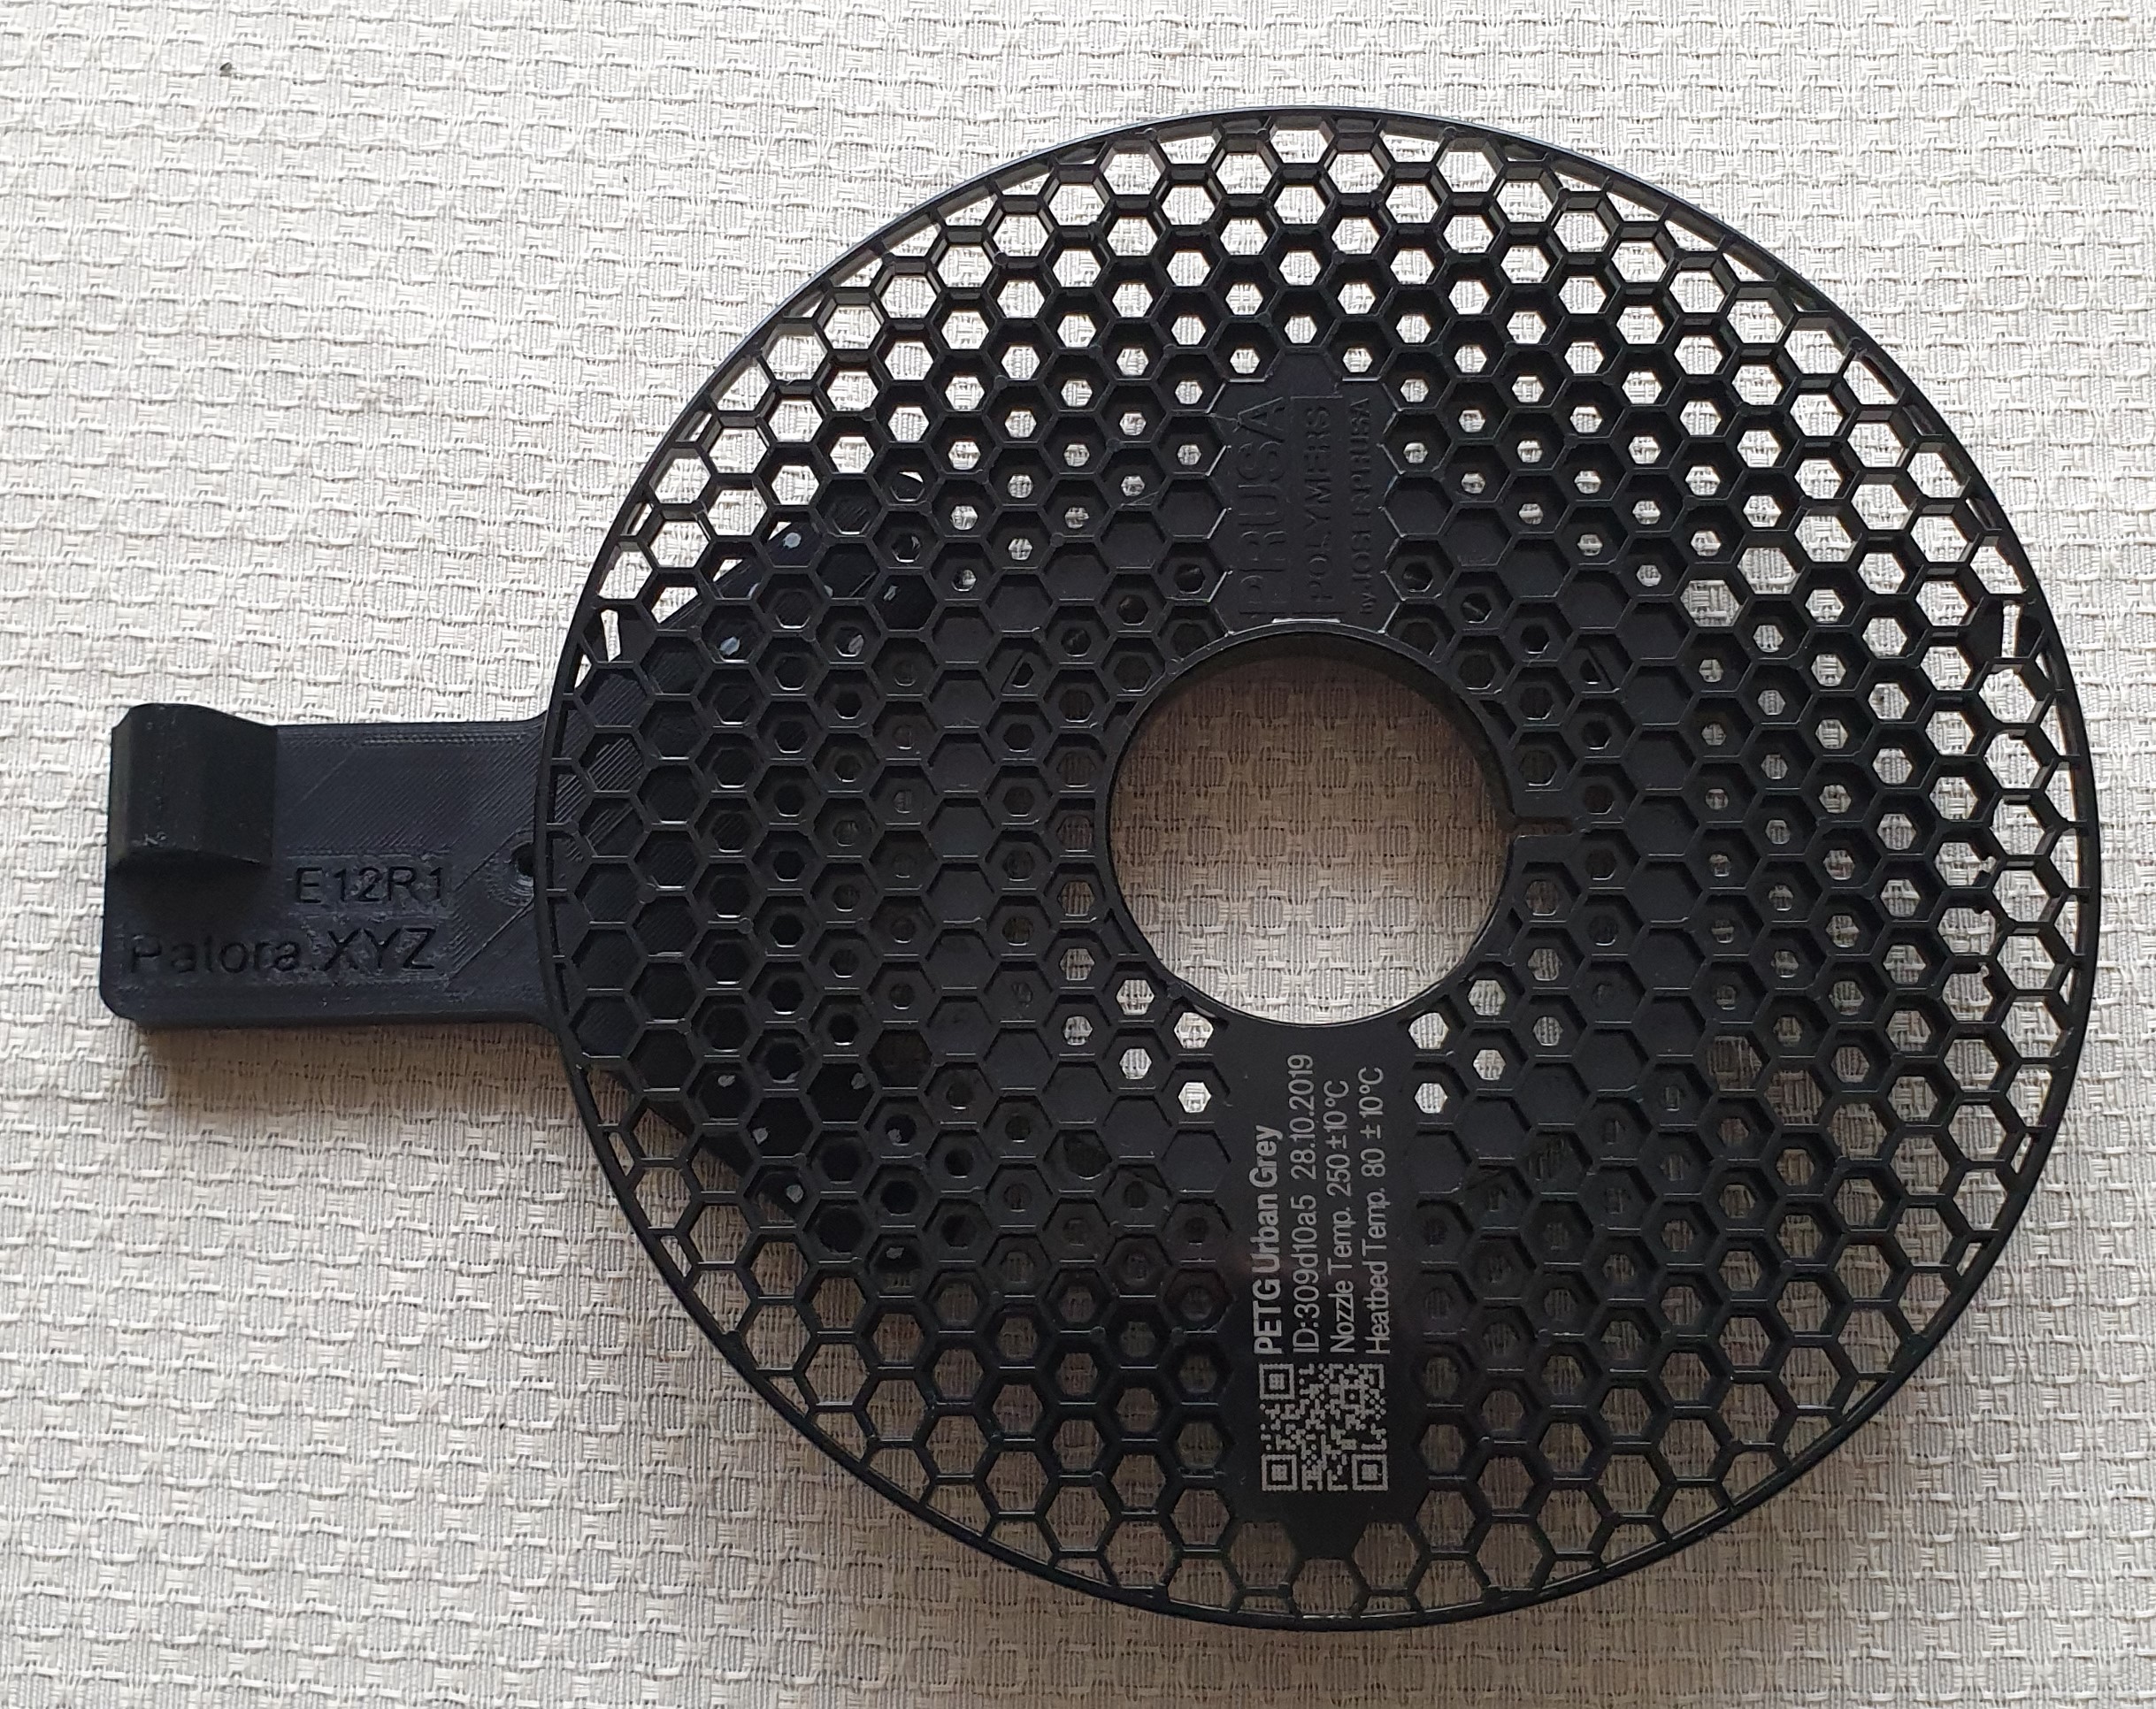
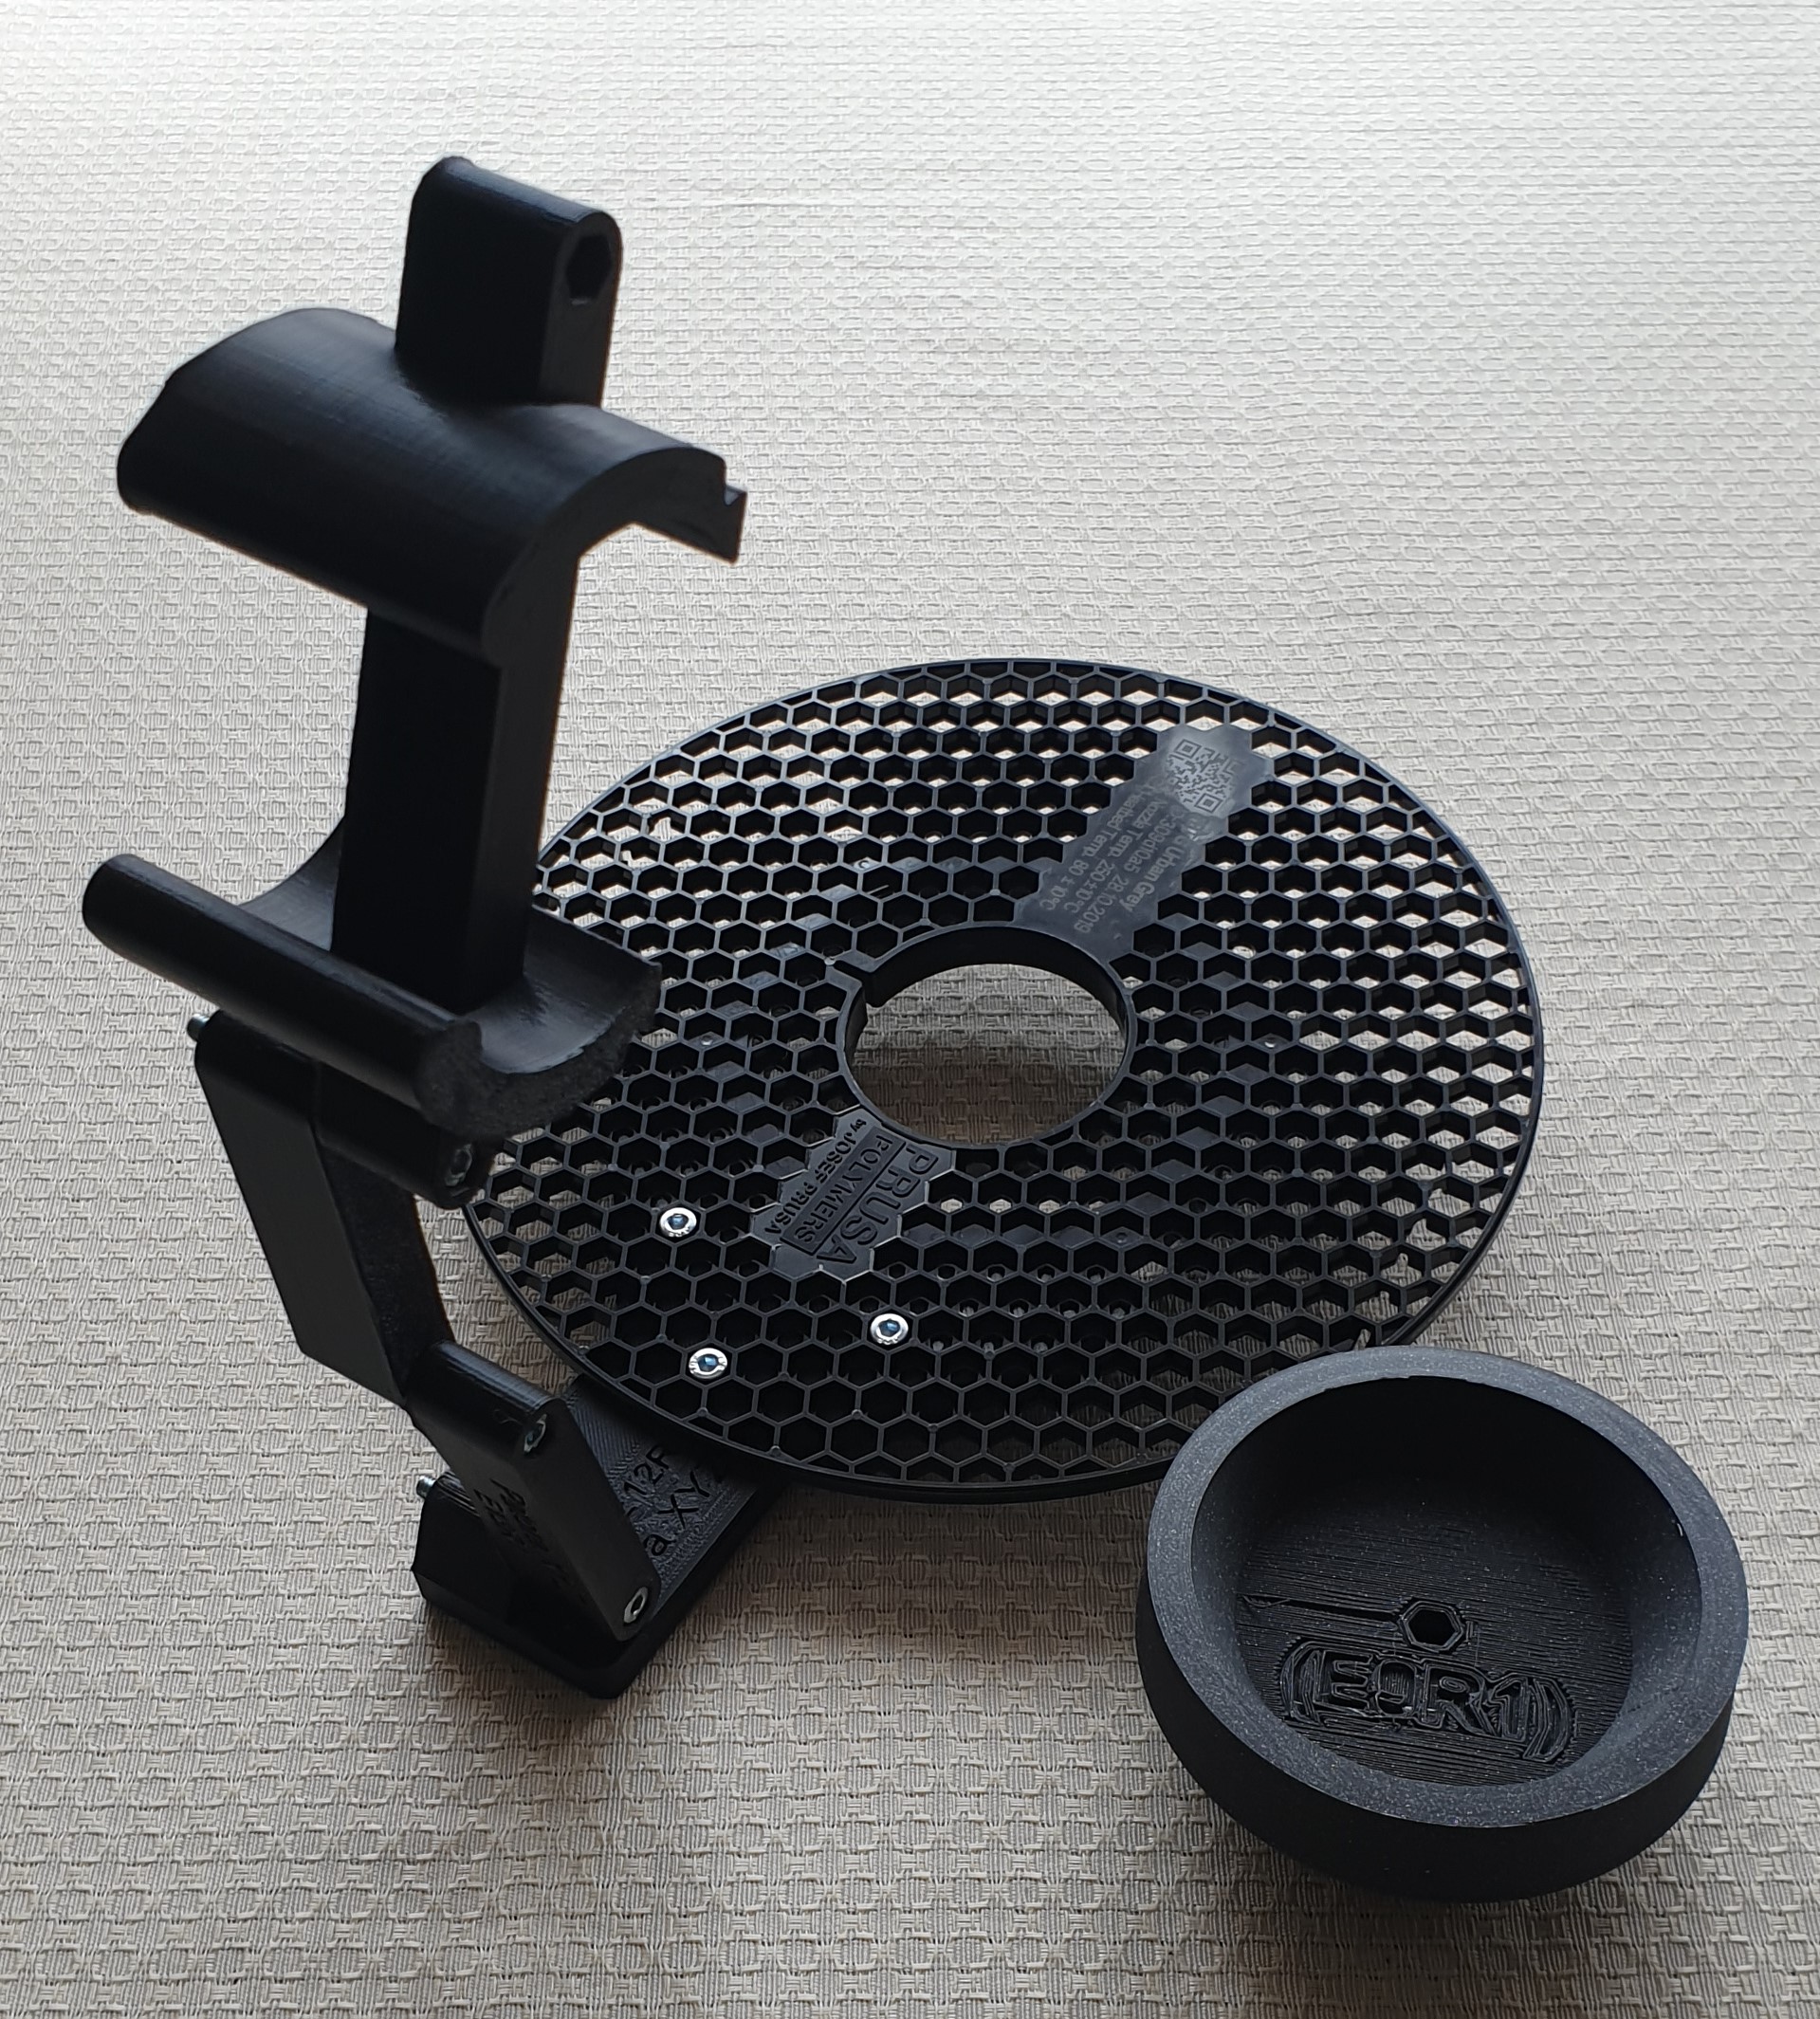
Step 17 – Connect the element E12R1 and the empty spool Prusament with 5 bolts M4x10.
Step 18 – Attach the M4 nut to the E12R1.

Step 19 – Connect the E12R1 and E13R1 components with the M4x45 screw.

Step 20 – Connect E13R1 and E14R1 with M4x45 bolts and M4 nuts.
Step 21 – Combine the elements. Check that the E8R1 is securely fastened and that the moving parts move freely.
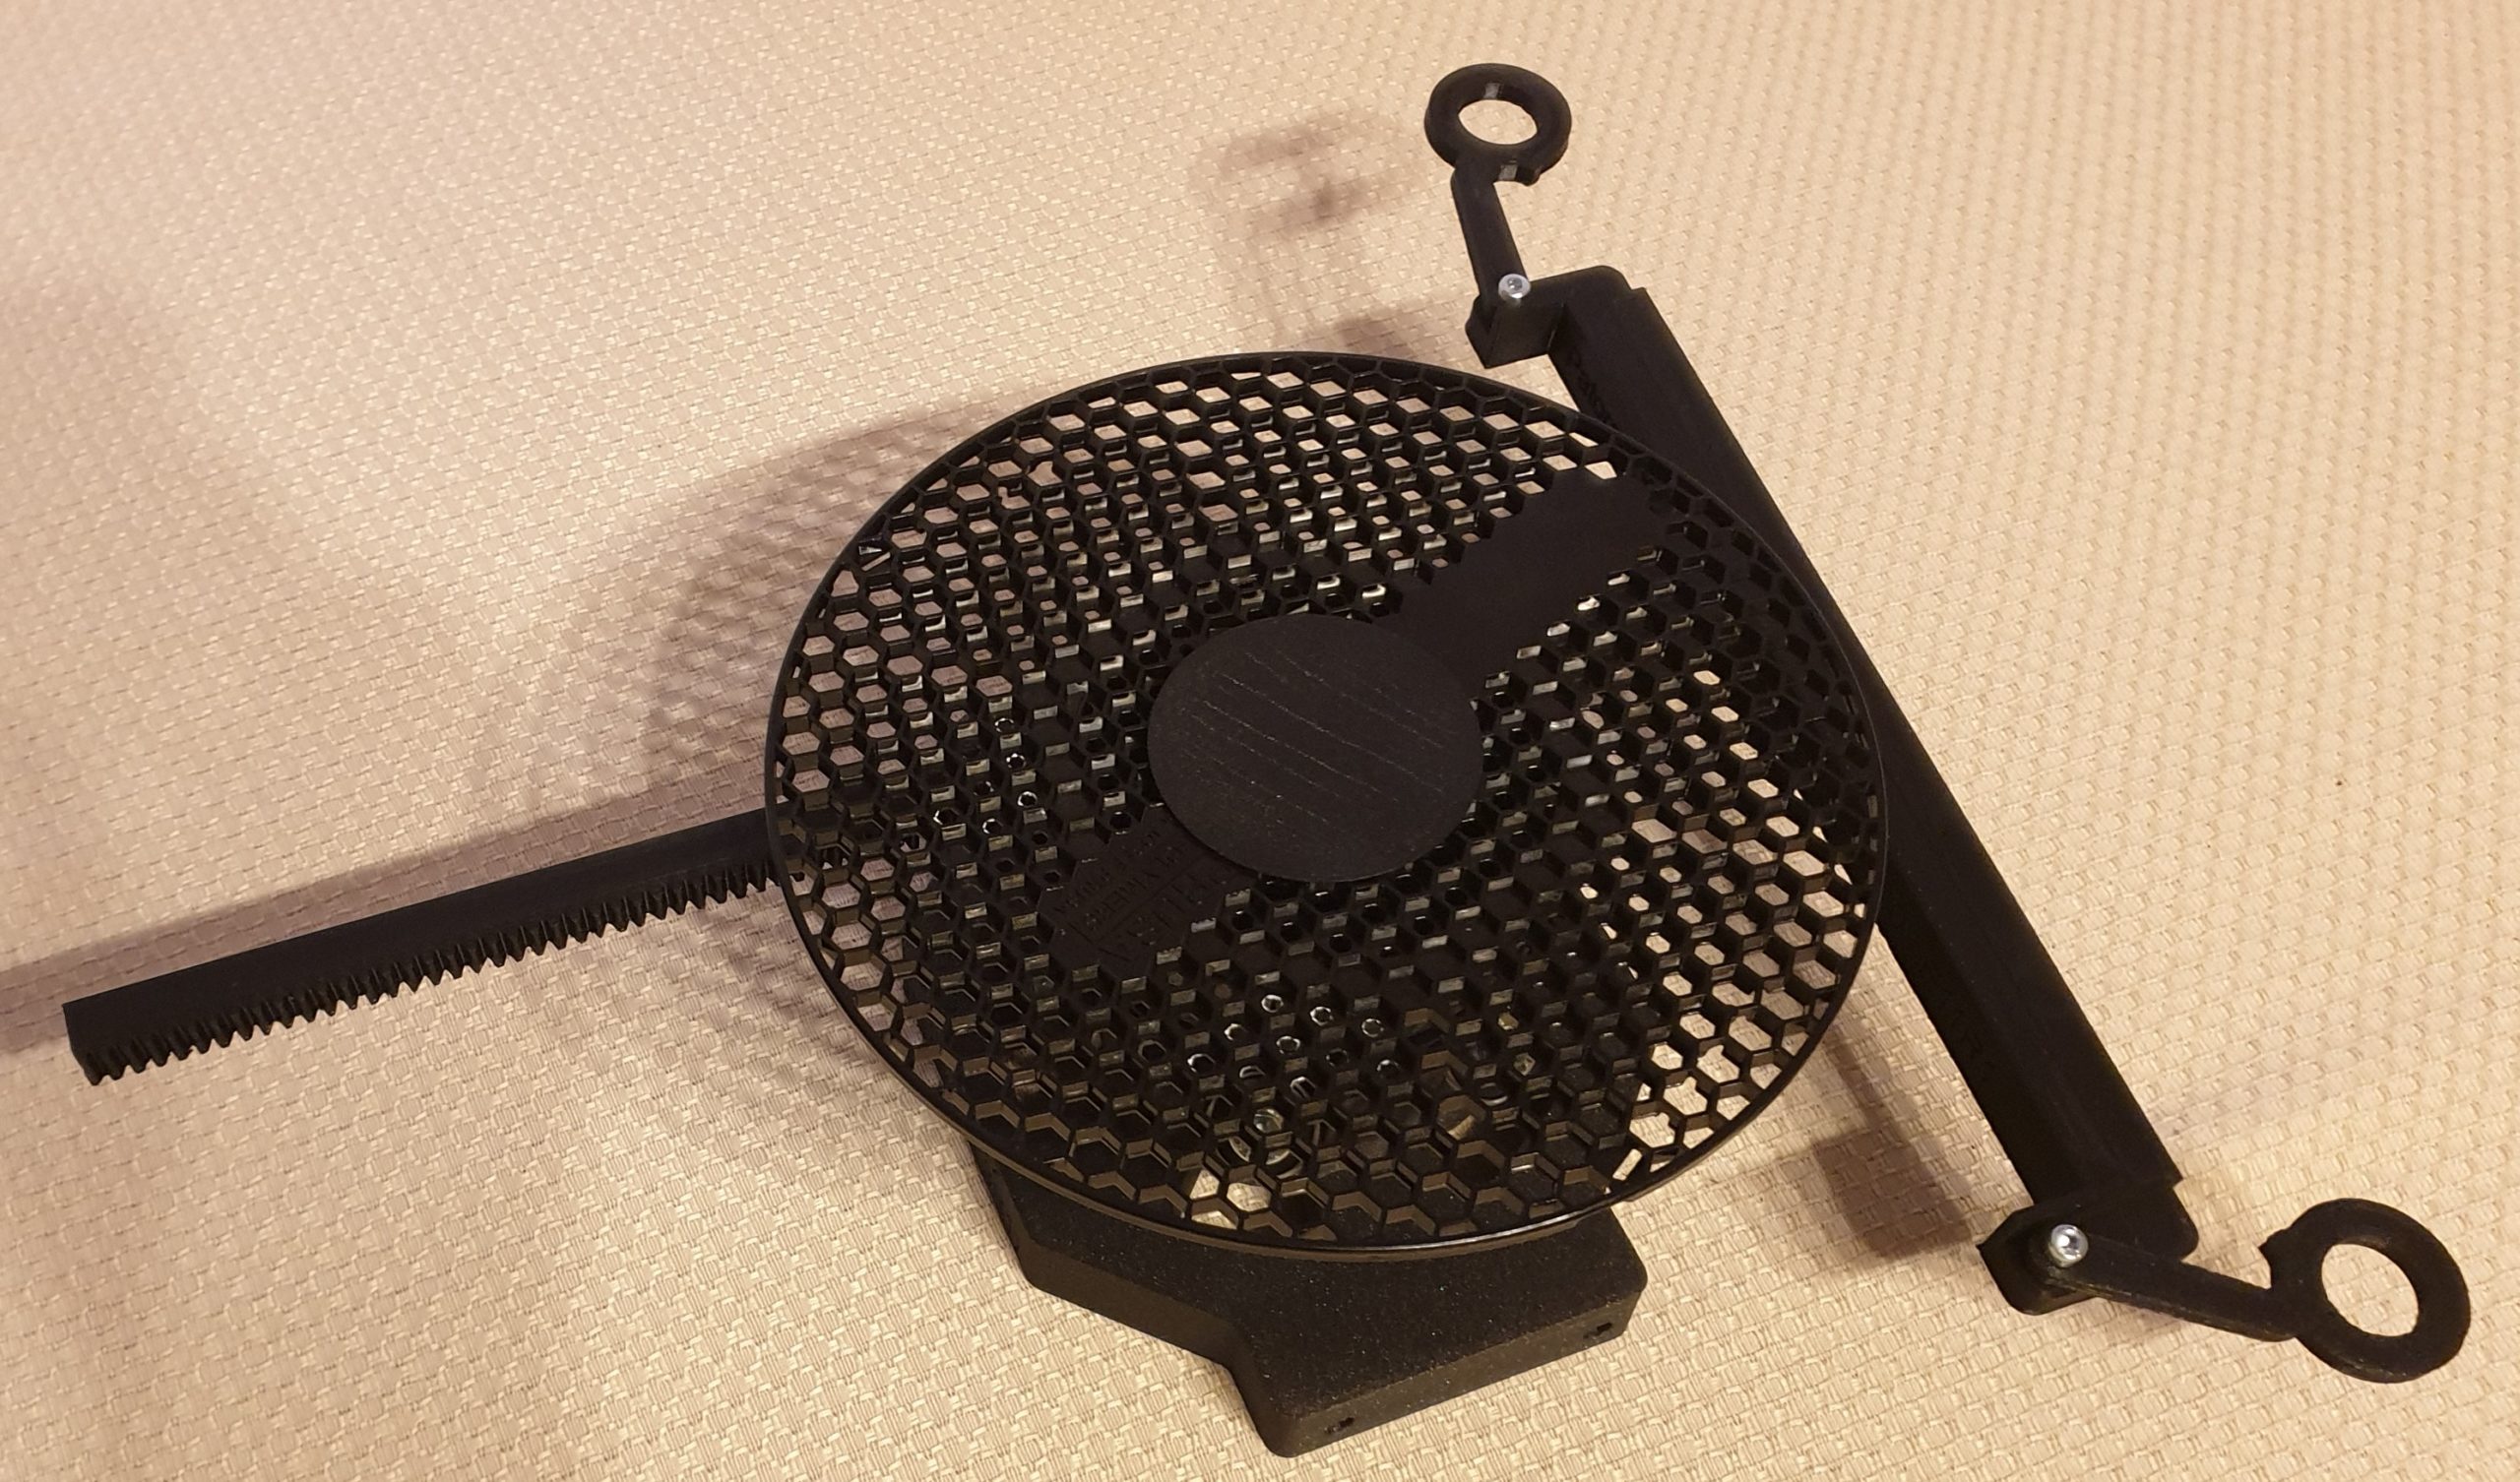
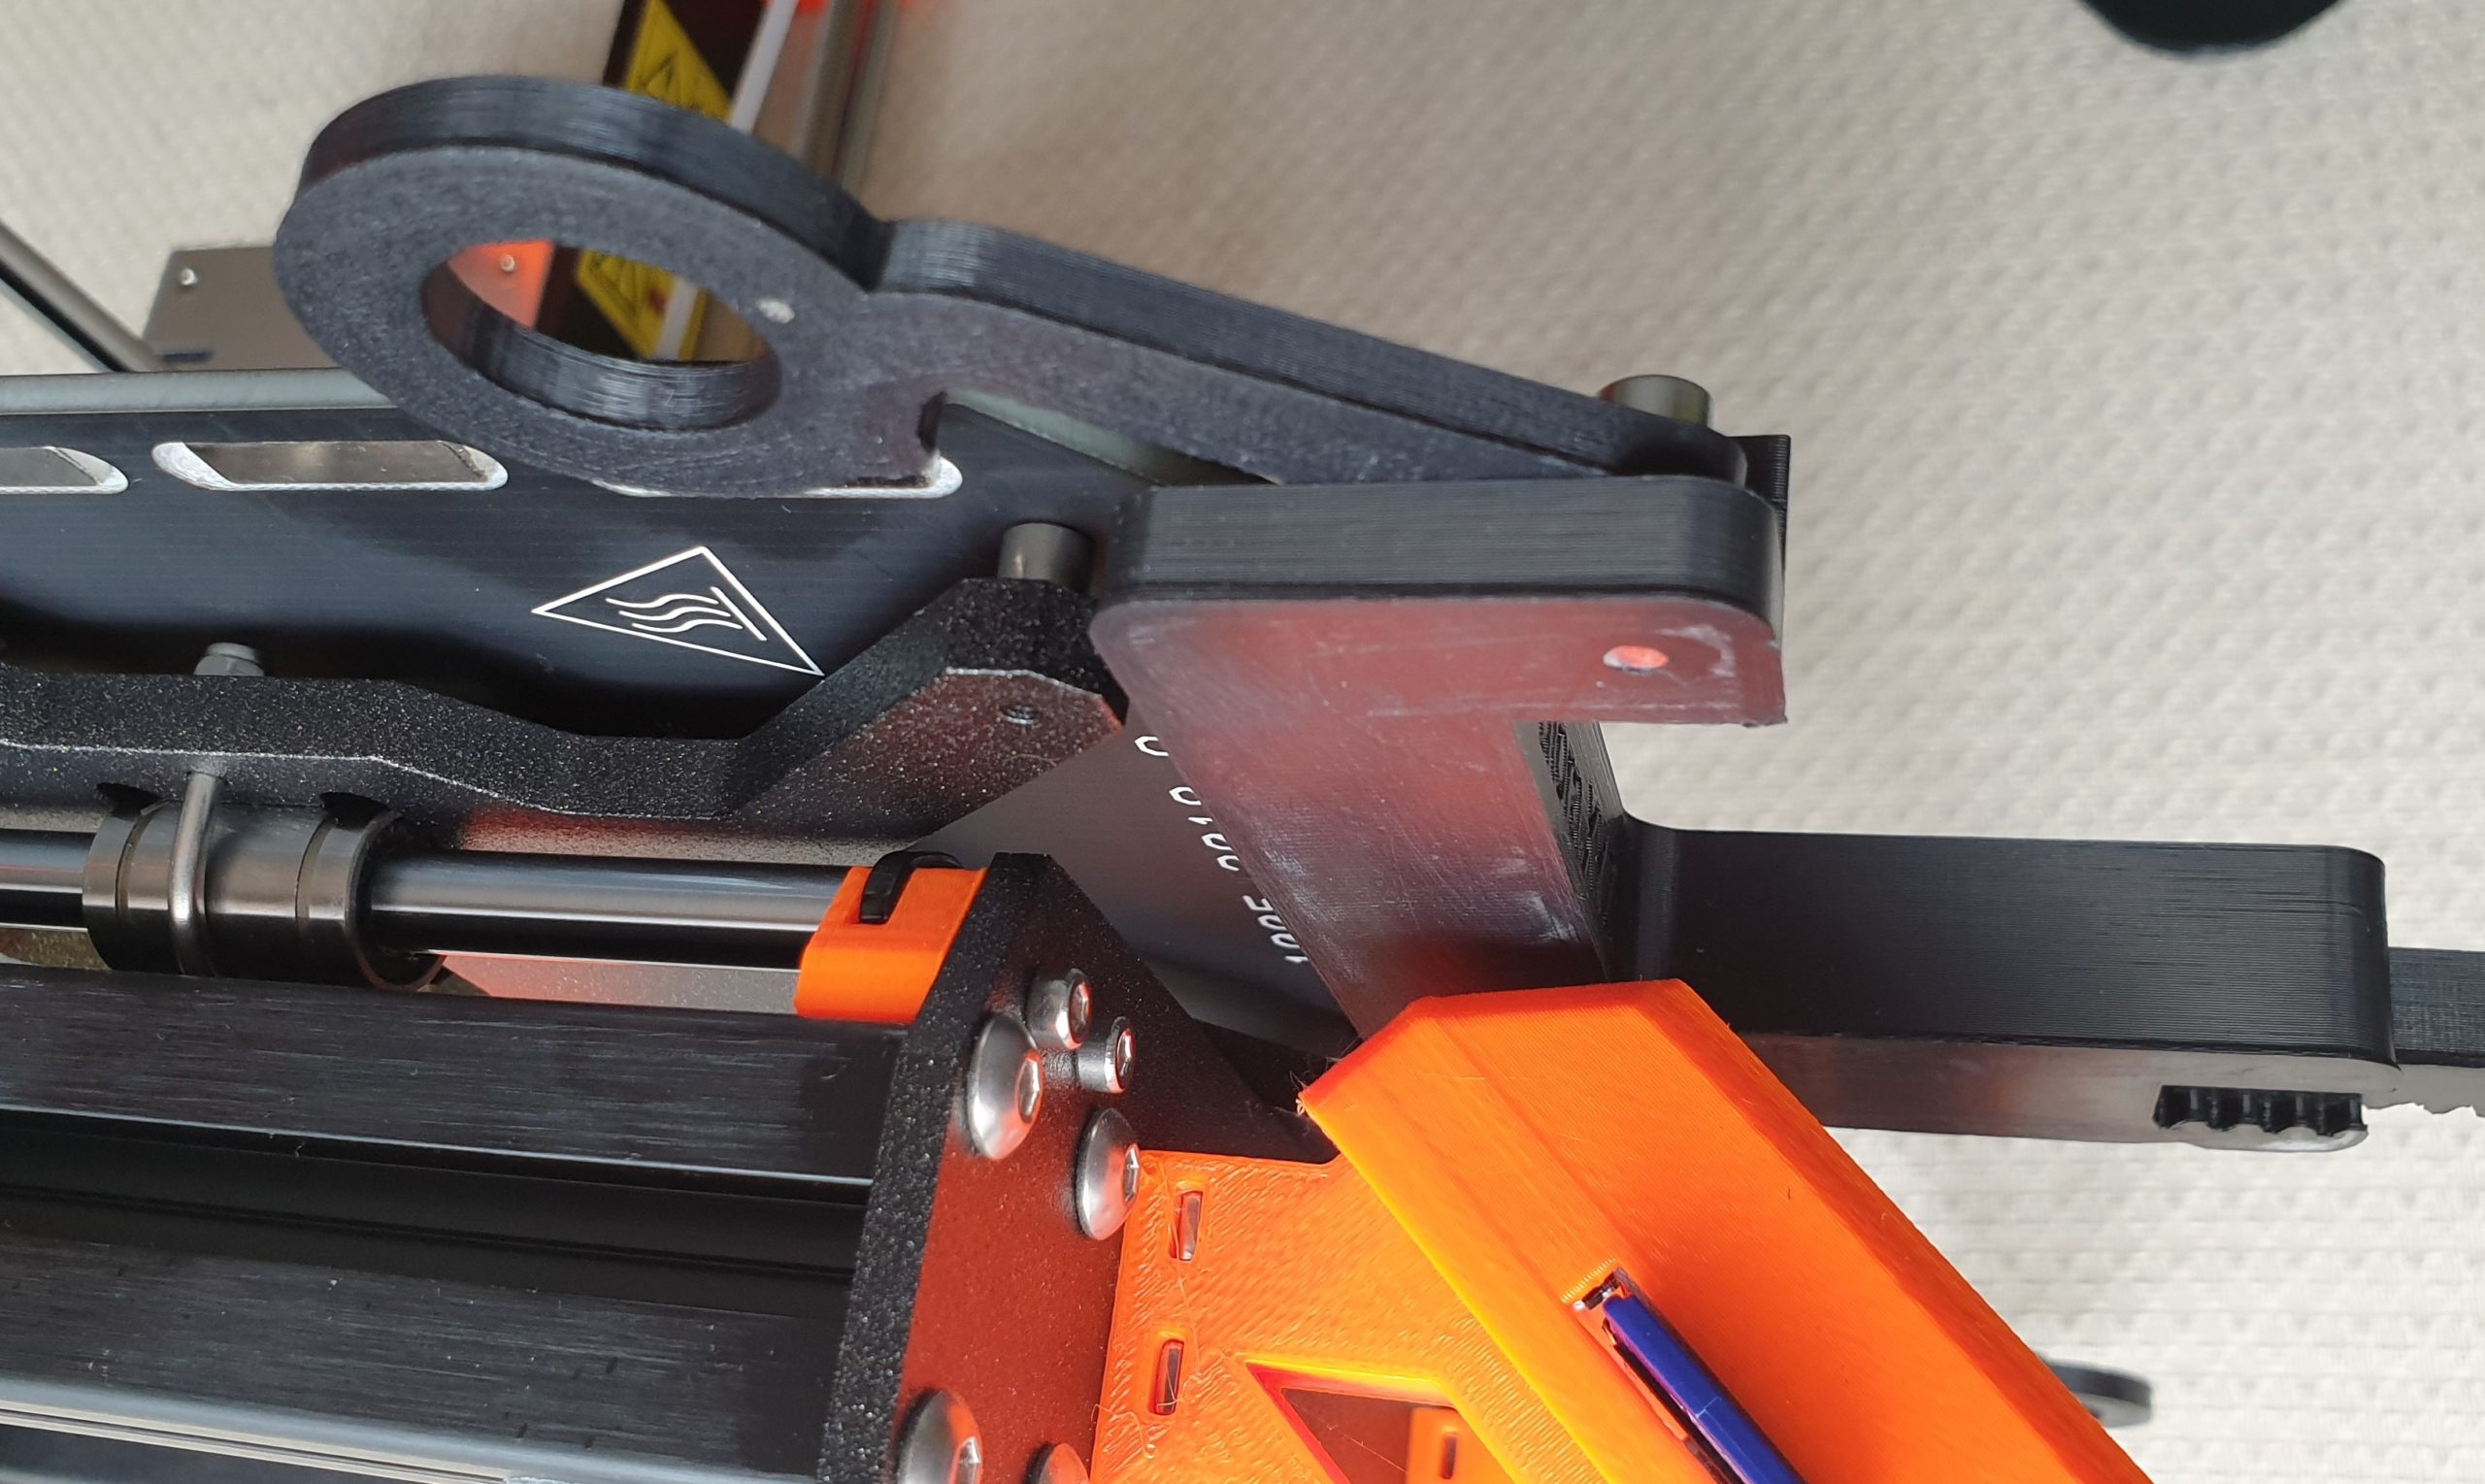
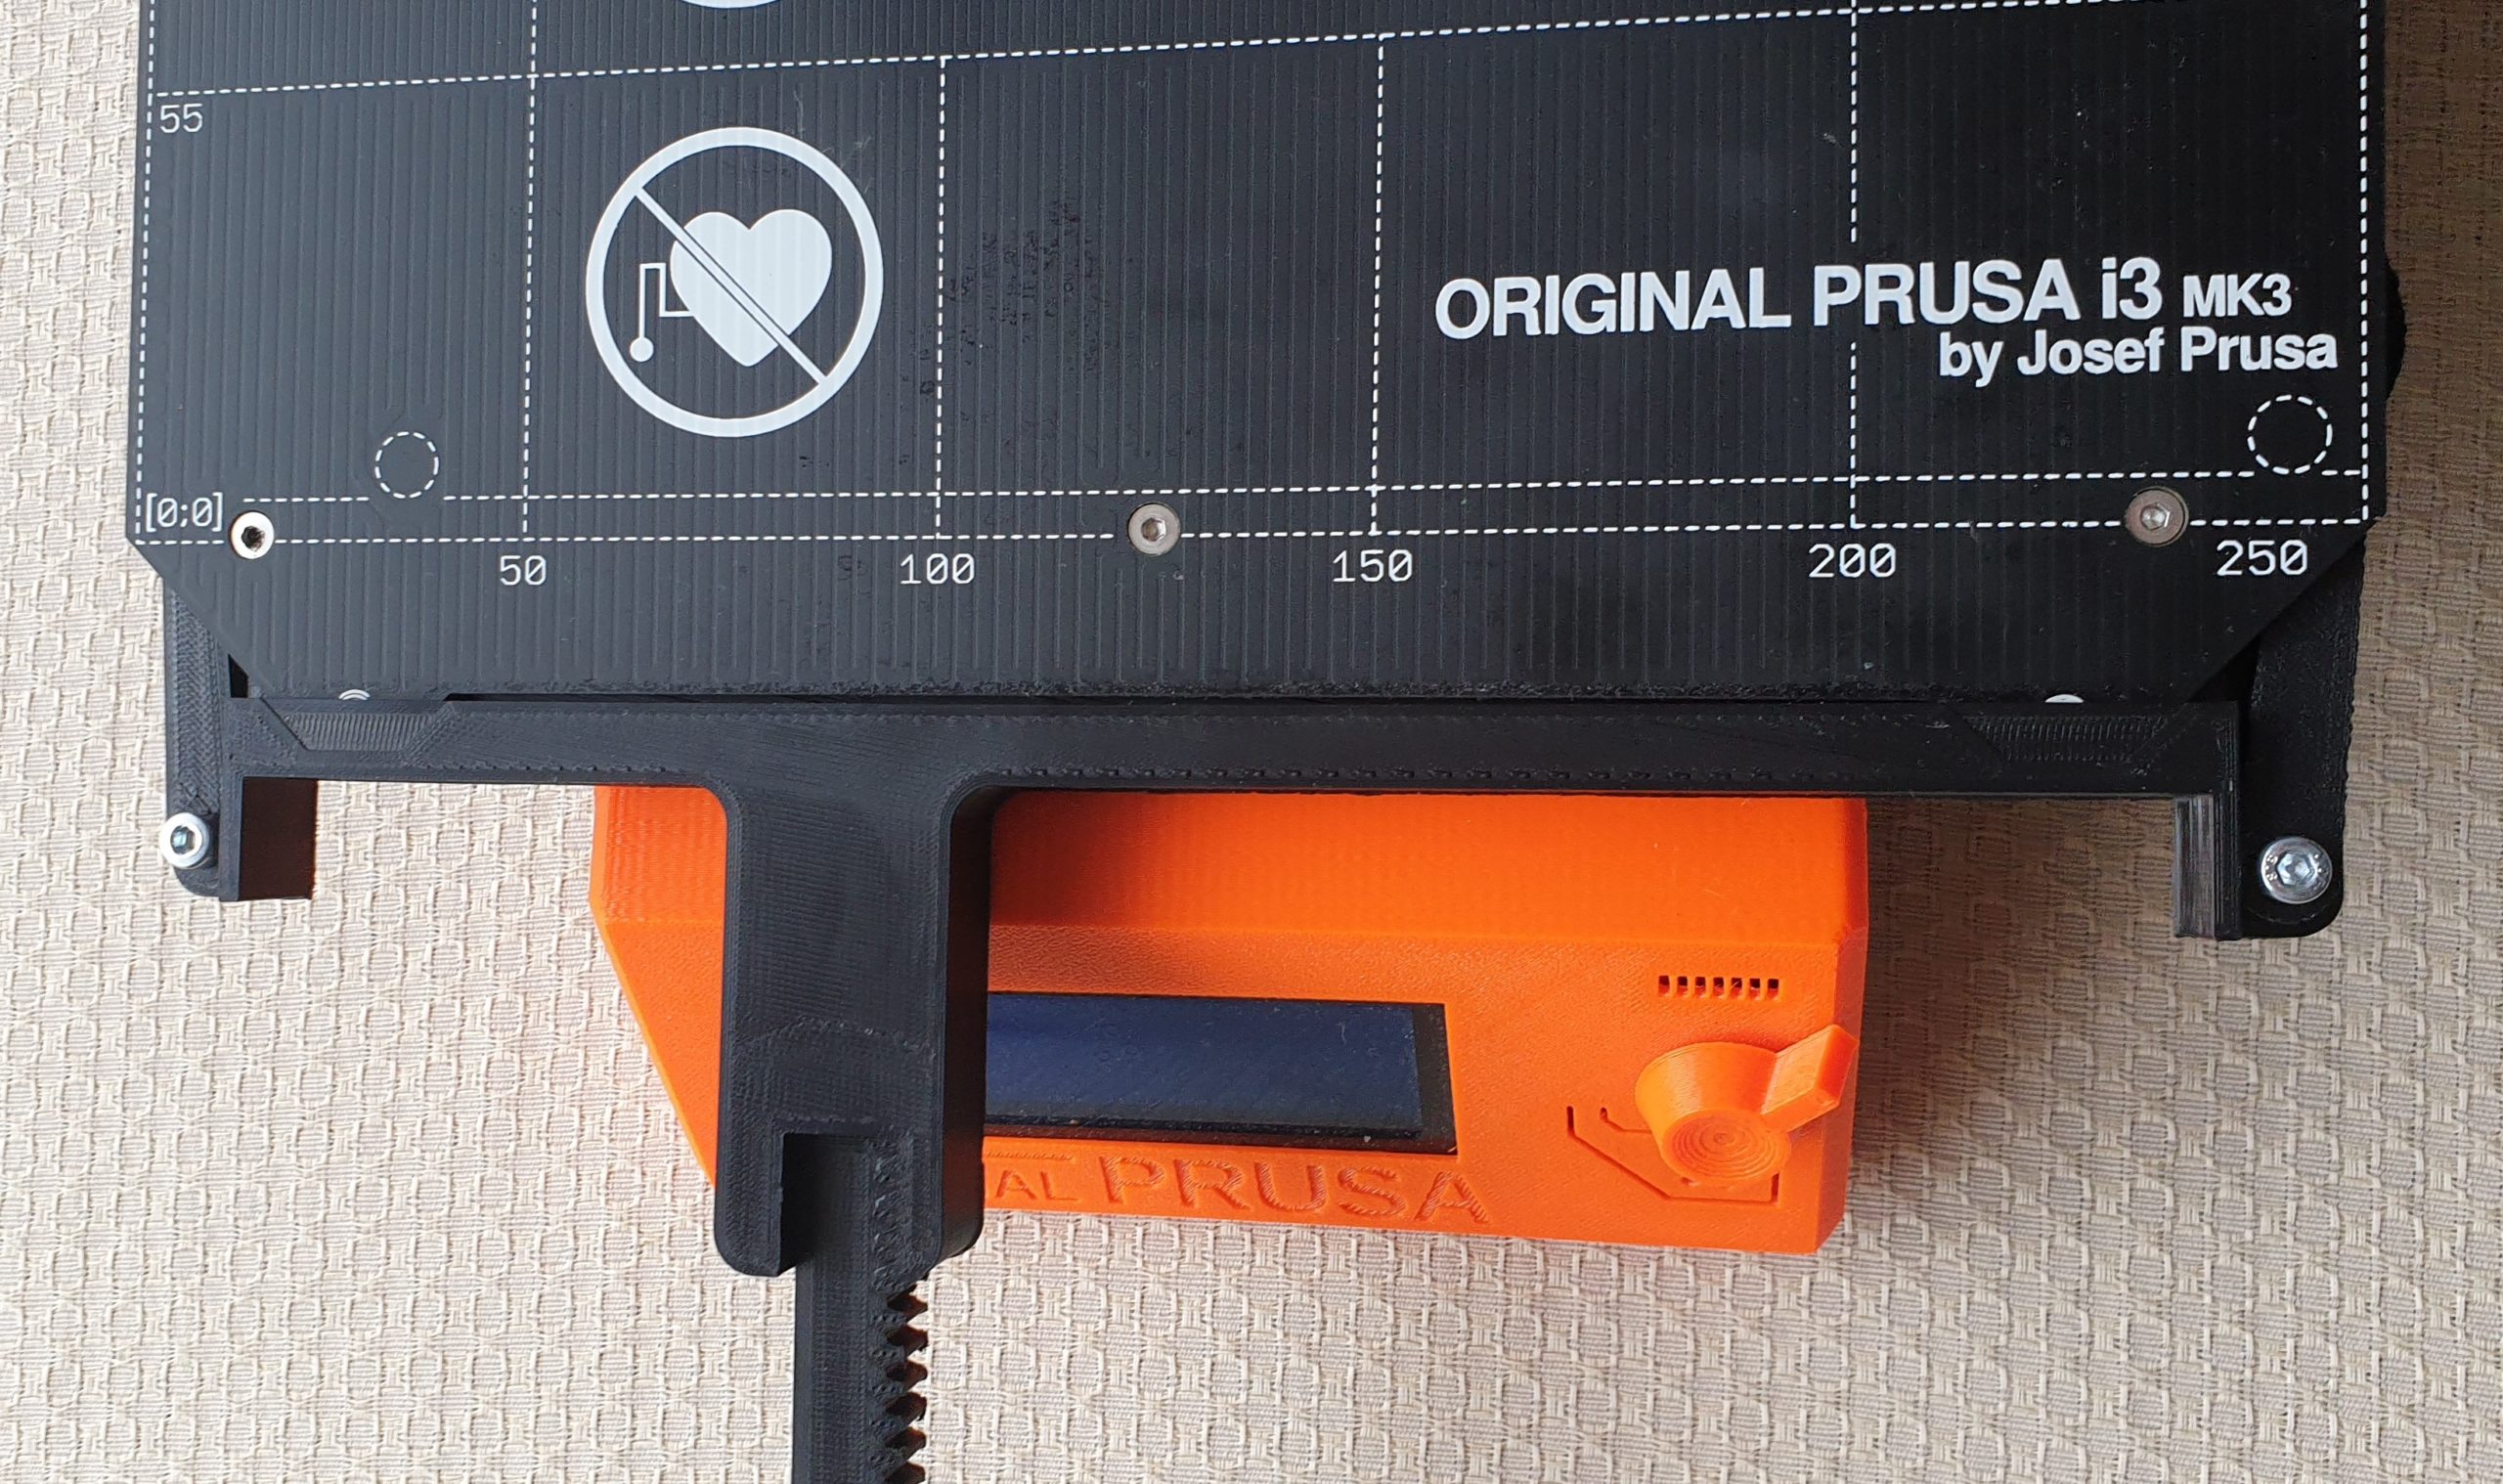
Step 22 – Install the E11R1 item on the i3 Mk3 Prusa printer table. Use clips to protect the item from slipping.

Step 23 – Prepare E1R1 and E2R1 components for installation.
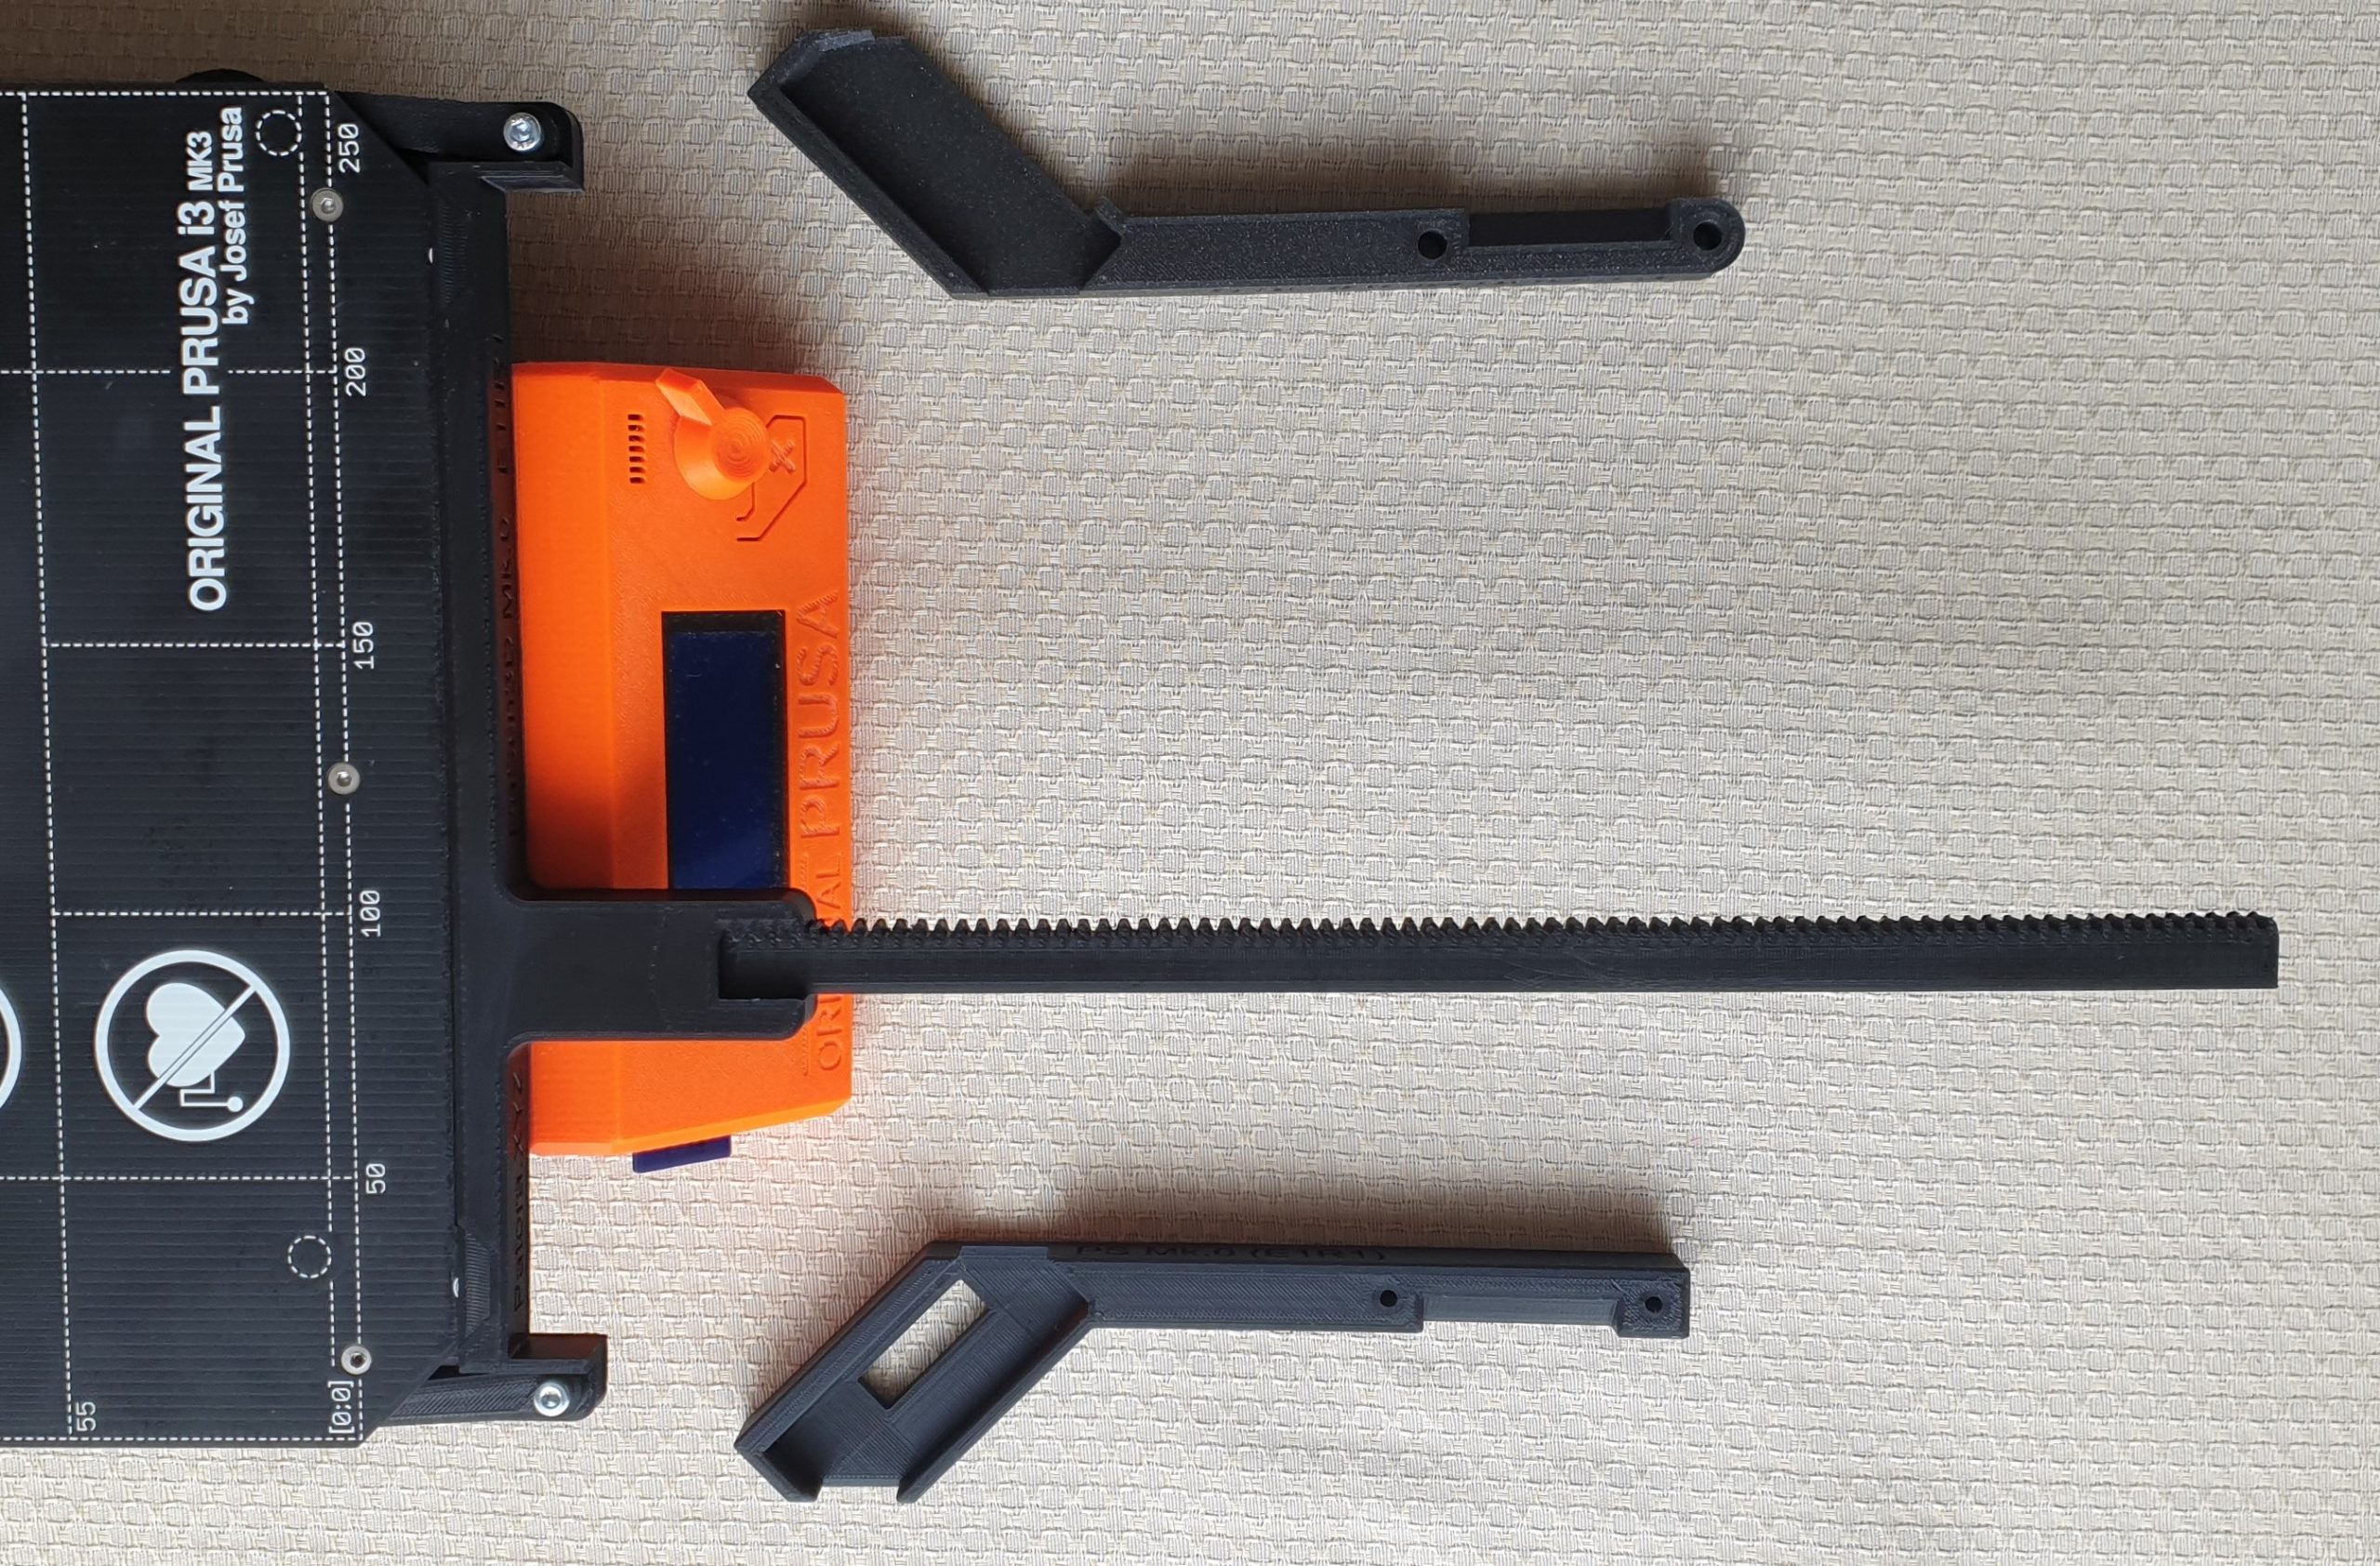
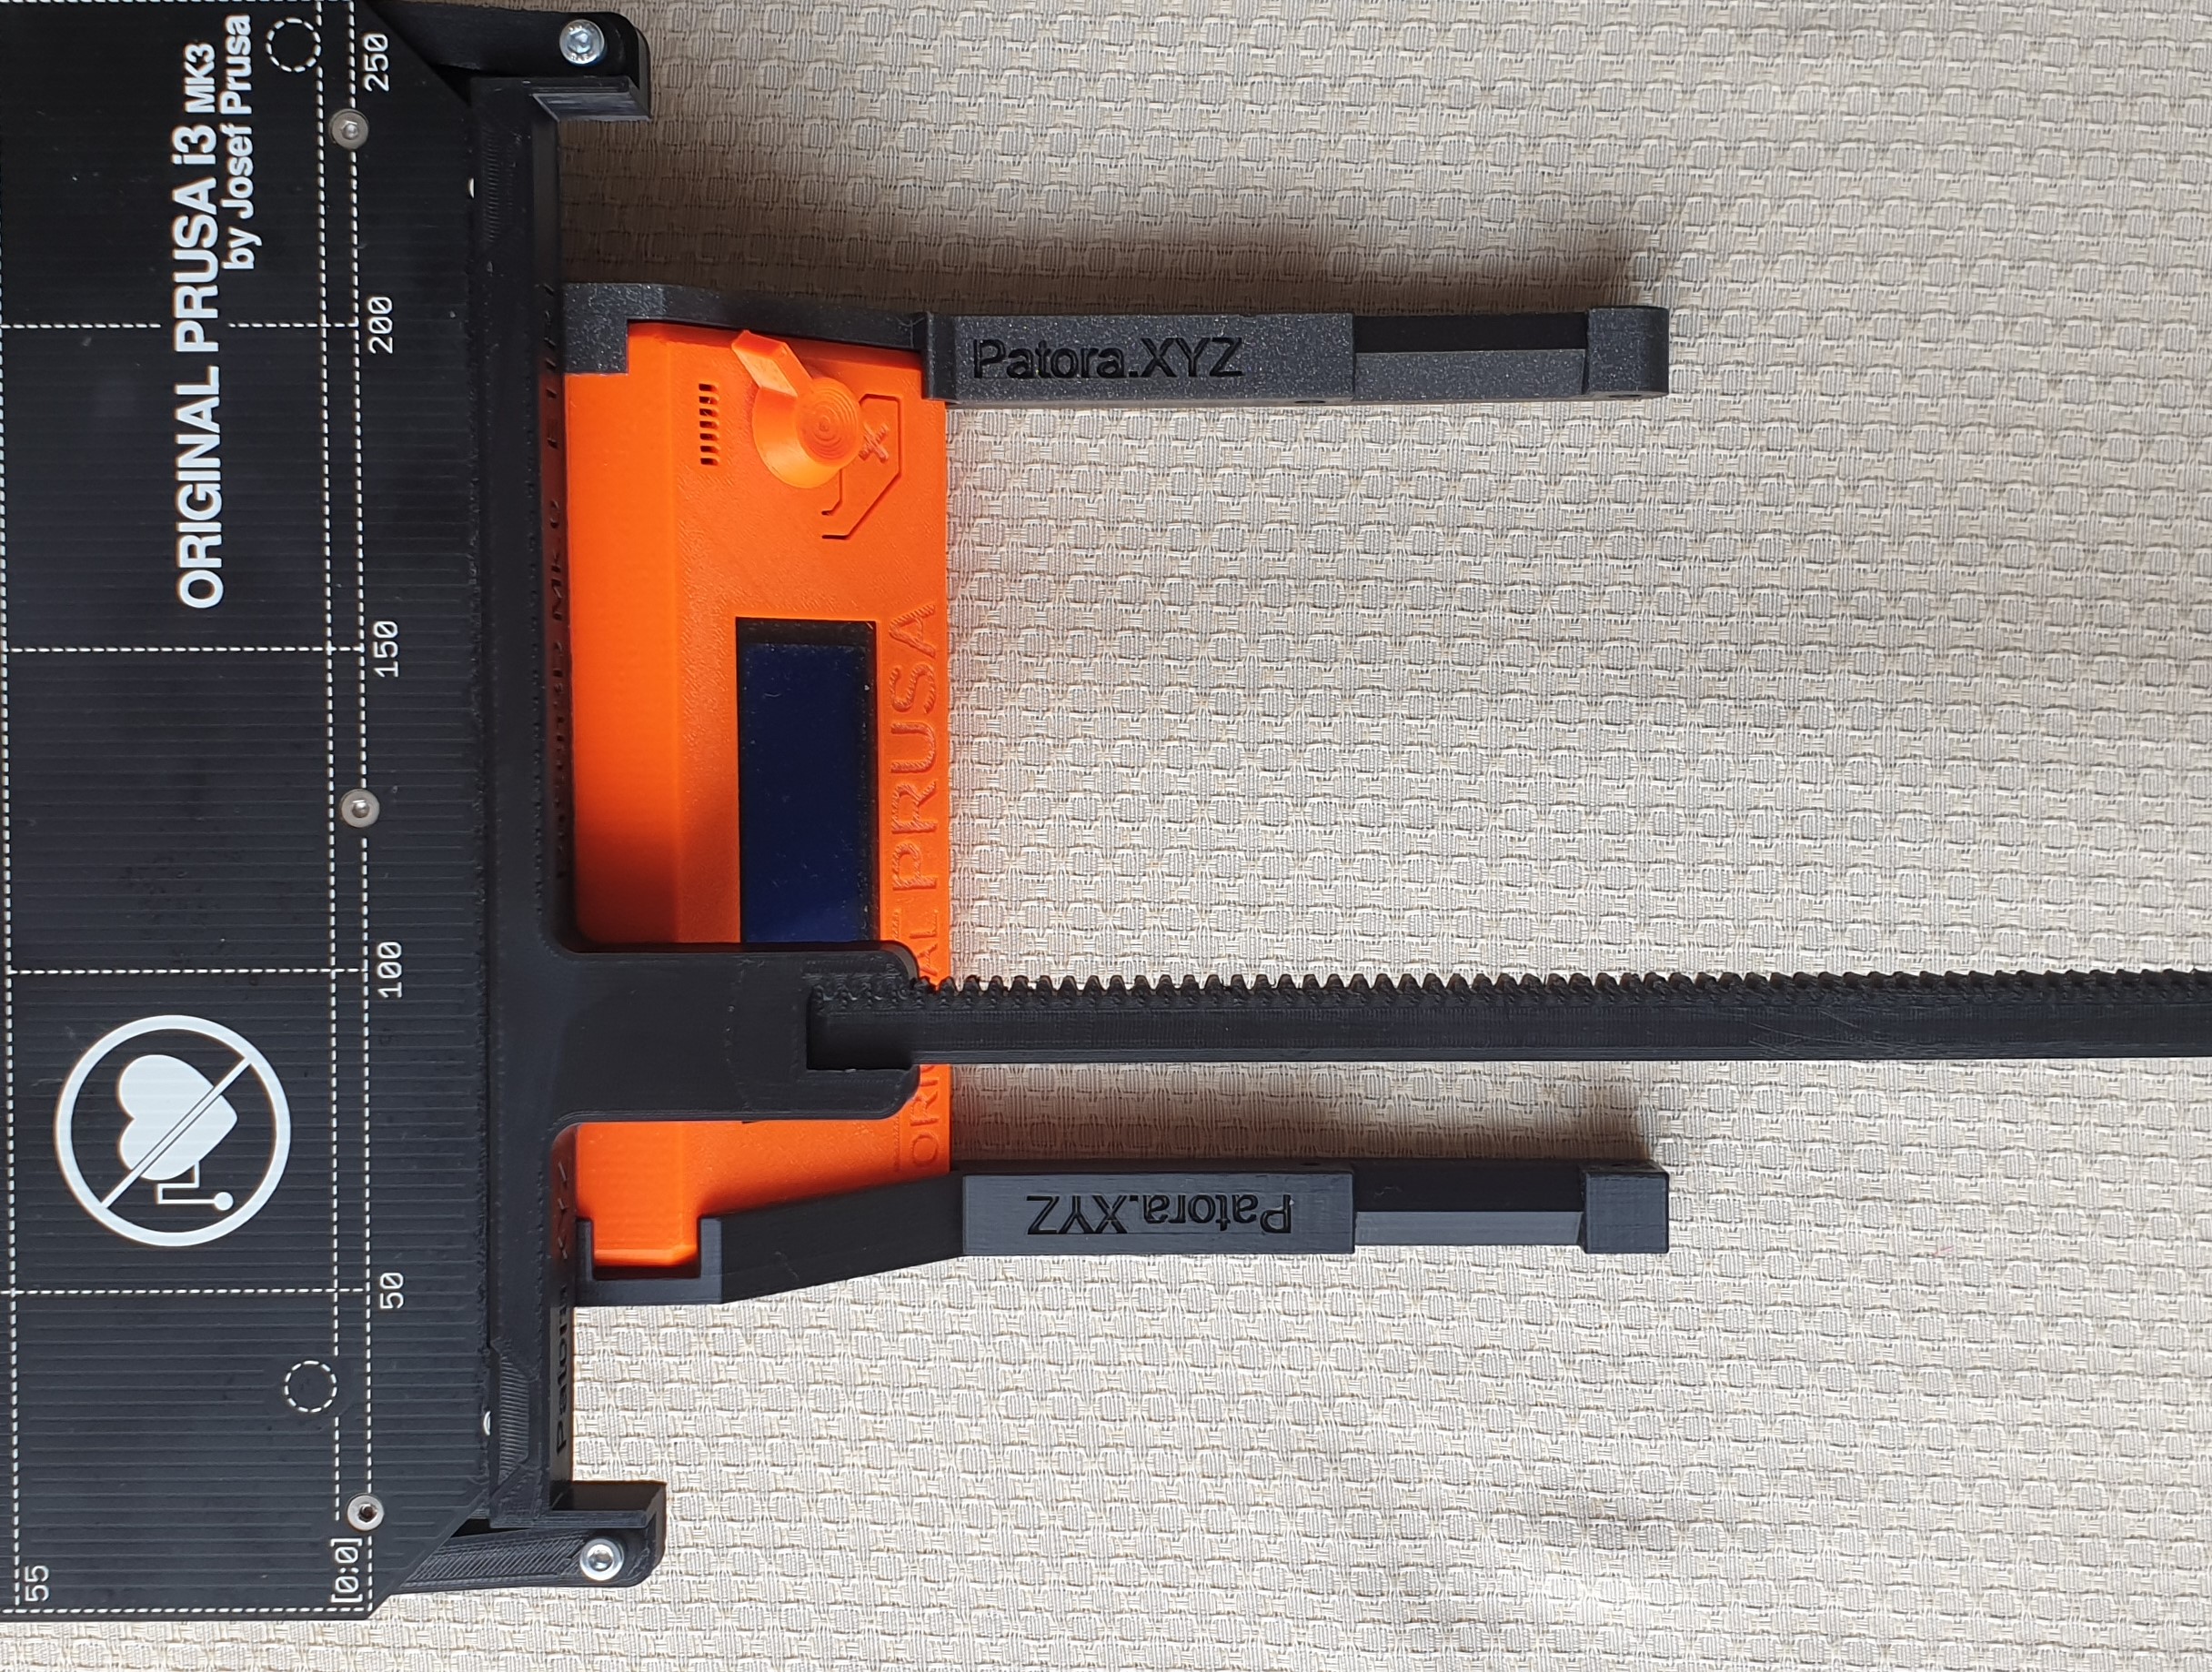
Step 24 – Mount the previously assembled components on E1R1 and E2R1 holders. Make sure to adjust the E6R1 after installation. Remember to check the freedom of movement of the printer table with the printer switched off.

Step 25 – Install an empty spool of Prusament on the device. Congratulations! You’ve finished installing the device!

Step 26 – Start the disassembly of the device by removing the clips from the E11R1 and disconnect it from the table. Then lift the device by removing it from the E1R1 and E2R1 clips.