Upgrade Prusa i3 Mk3 to 3D scanner!
All parts are available at www.prusaprinters.org.
Download it, rate, print & scan!
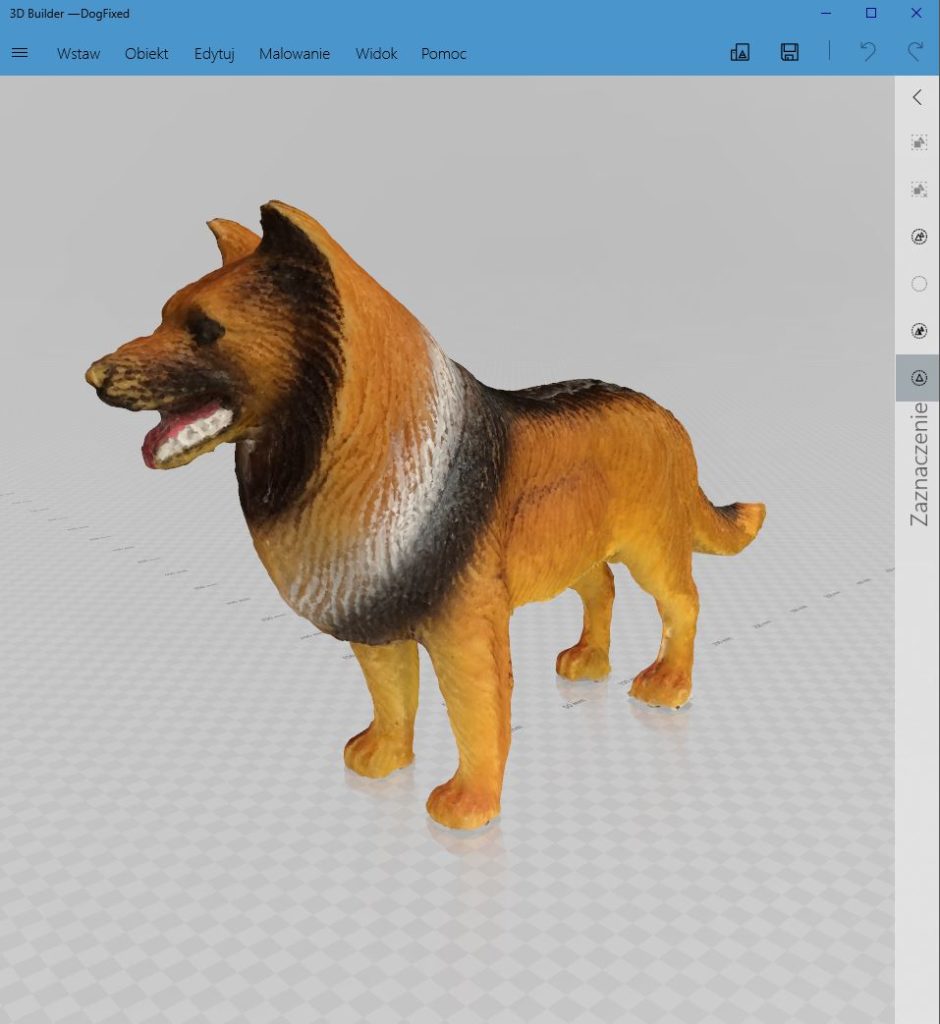
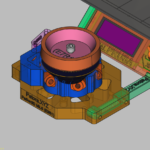
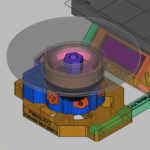
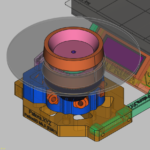
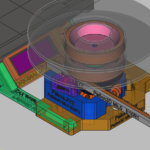
PaScn3D Mk.0 was created after making several dozen test prints, concept changes and new ideas. PrusaPrinters Contest just only speeded up my idea.
I hope the project will contribute to the popularization of creating 3D copies using 3d printier.
The chosen name reflects the essence of the matter.
In addition, Google, Bing and other search engines do not know it (yet)!
The Mk.0 version uses the photogrammetry technique as a scanning method, but I have many ideas on how to improve this project and new ideas about 3d scanning.
If you like my project, write to me and share your impressions.
To build a device you need:
- 3d printer to print the project – the current model is called PaScn3D Mk.0 PrusaPrinters Contest Edition. Guess why?
- Prusament PLA or PETG 1kg – I use empty spools to build the device (eco-friendly). If you think that the project should include other spools – suggest which ones.
- M4, M8 screws, nuts, washers – according to the assembly description
- The project use of 6 bearings from MMU2 feeders. This will stabilize the platform and allow you to scan heavy objects. You can build without it.
- 60h for printing and another day for building.
- Sweets to calm nerves.
Main features:
- Project prepared for printing on any 3D printer, e.g. Prusa Mk3 or Mk2.5
- Electronic components (stepper motors, controllers, etc.) are not required. If you have a printer, then you have such electronics!
- PaScn3D connection to Prusa 3D printer in a minute (tested!) – dedicated mounting brackets, components adapted to the dimensions of the device
- Modularity – adaptation to other printers without changing the design of the basic elements
- High accuracy – table rotation control at 0.1 degree or less.
- Durability – tested for 5kg objects
- Two modes of operation – rotary table or fixed table and moving camera – you can use a preferred scanning method.
- Off-line scanning without a computer – just mobile phone (and great idea).
- Octoprint & Octolapse compatible
Feedback email: 3d(at)patora.xyz




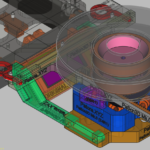


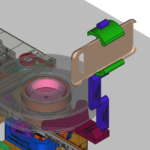
Thomas
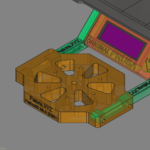
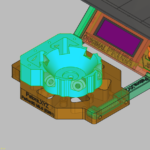
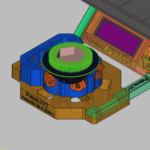
Hi, I’m Thomas alias “Funtomaas” and I’m really impressed of your cool featured 3d scanner. Because I own a Prusa Mini+, I wanted to adapt your 3dScanner. The parts that need adaptation on first sight are E11R1, E5R1, E1R1, E2R1 and I “cut with a puzzle-like head” the E10R1 because it didn’t fit on the heatbed. Because I didn’t change the E10R1, but have a shorter y-Axis-way, I changed the gearwheel (less tooth and diameter) to still get enough rotation-angle. (Every part I changed is marked with an additional “mini+” on it ;). .. my actual situation: 1. it’s not that easy to change the files (mf3) in FreeCAD (change to *.stl, import it etc.) -and I’m not very experienced in Freecad too. 2. now after trying to adapt the E11R1 Bed-Mount: my printed part doesn’t fit because not only the width ob the heatbed is different, but the screws below too etc.. OK stupid me didn’t measure the complete printer… :(.
So here comes my questions: 1. where did you get the CAD-files of the Prusa printer from to develop your cool 3D-Scanner? .. and do you think I could get CAD-Files for the Prusa Mini there too? 2. would you share your Freecad-files for my adaptation to help me save some of my time?
I of course planned to share my adaptation with you, so you can share it on your website if you think the quality hits your demands, and I could share the adapted parts on “Prusaprinters.org” as remix with link on your cool original – so it could be a win-win…
Maybe you can think about it – I’d be very happy.
Kind regards,
Thomas.